
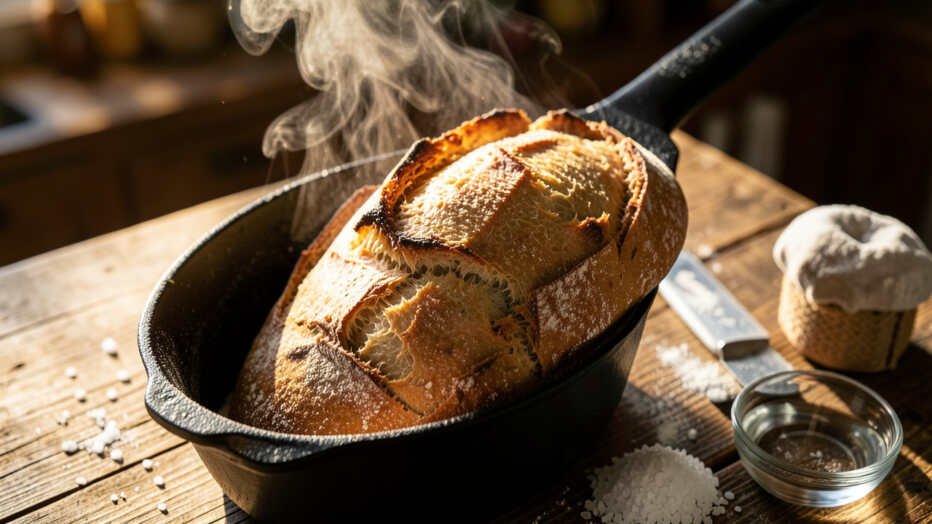
Dutch oven bread achieves its thick, crackling crust because the sealed pot traps steam released from the dough during the first 20 minutes of baking, preventing the crust from setting prematurely and allowing maximum oven spring. This trapped steam keeps the dough surface flexible while the interior expands, then removing the lid exposes the crust to intense radiant heat that drives the Maillard reaction and caramelization at 450-500°F. For home bakers, preheating the Dutch oven and using high hydration dough eliminates the need for a separate steam injection system, reducing moisture loss by about 40% compared to open baking and producing a deeply browned, crispy crust.
Why does bread baked in a Dutch oven develop a thick, crackling crust while open-oven bread stays pale and soft? The answer lies in trapped steam and intense radiant heat.
Quick Verdict: A Dutch oven traps steam released from the dough during the first 20 minutes of baking. This steam keeps the crust soft and flexible, allowing the bread to expand fully (oven spring). When you remove the lid, the exposed crust rapidly browns and hardens through the Maillard reaction and caramelization, producing a deep color and signature crackle. Preheat the pot, use high hydration dough, and bake at 450-500°F for best results.
Key Takeaways
- A properly preheated Dutch oven creates a sealed, steam-rich environment that delays crust setting and maximizes oven spring.
- The Maillard reaction requires temperatures above 285°F and accounts for over 600 flavor compounds in bread crust.
- Using a Dutch oven eliminates the need for a separate steam injection system, making it the most accessible method for home bakers.
- Baking with the lid on for the first 20 minutes reduces moisture loss by approximately 40% compared to open baking.
- Removing the lid for the final 10-15 minutes allows crust browning and crisping to finish without burning.
What You Need Before You Start
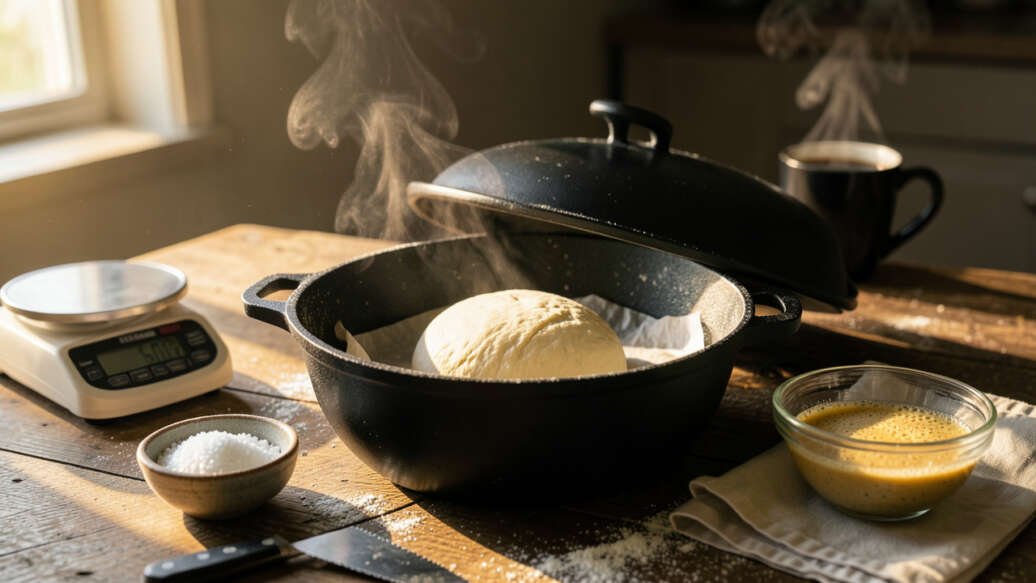
You do not need many tools to bake great bread. Dutch oven bread actually requires less equipment than standard loaf pan baking. Focus on quality basics, not quantity.
Essential Equipment
- Dutch oven – Cast iron or enameled cast iron works best. Lodge and Le Creuset are common choices. Size matters: use a 5-7 quart pot for standard boules.
- Digital kitchen scale – Volume measurements are too inconsistent for bread. Weigh your flour and water in grams for repeatable results.
- Banneton or proofing basket – A round basket lined with linen or rice flour gives the dough structure and pattern during the final rise.
- Bench scraper – A simple metal or plastic scraper helps handle sticky dough without adding extra flour.
- Razor blade or lame – Scoring the dough before baking controls where the bread expands and creates the classic ear pattern.
Tip: Use parchment paper to lower your dough into the hot Dutch oven. It prevents sticking and makes lifting the baked bread much easier. Trim the paper edges to avoid burning.
Ingredient Checklist
| Ingredient | Amount (for one loaf) | Role in Crust Formation |
|---|---|---|
| Bread flour | 500 grams | High protein content (12-14%) builds gluten structure for oven spring |
| Water | 350-375 grams | 70-75% hydration creates steam and extends crust formation time |
| Salt | 10 grams | Strengthens gluten and controls fermentation speed |
| Instant yeast | 4 grams (1 teaspoon) | Produces CO2 gas for volume and steam during baking |
Use filtered or bottled water if your tap water is heavily chlorinated. Chlorine can slow fermentation and reduce the gas production you need for strong oven spring. Room temperature water (68-72°F) works best for mixing.
What Is the Maillard Reaction and Why It Matters for Crust
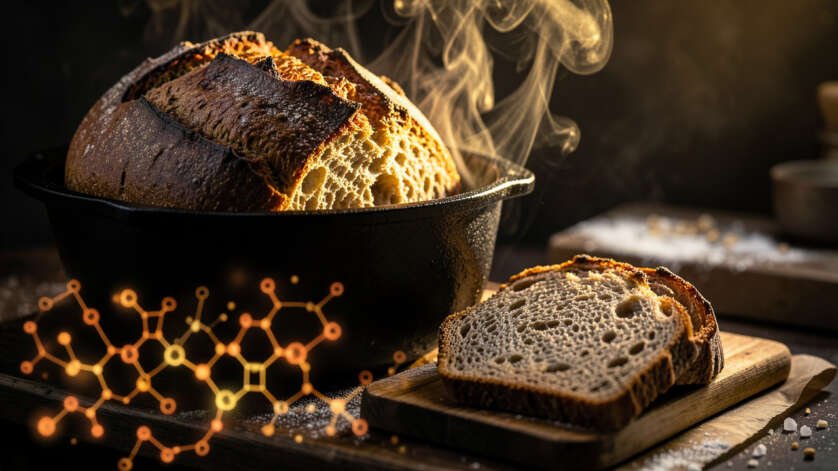
The Maillard reaction is a chemical reaction between amino acids and reducing sugars. It starts at approximately 285°F (140°C) and accelerates as temperature rises. This reaction creates the deep brown color and complex flavor of bread crust.
According to the Journal of Agricultural and Food Chemistry, the Maillard reaction produces over 600 distinct flavor compounds in baked bread. These include roasted, toasty, nutty, and even slightly sweet notes that are absent from the crumb.
Caramelization is a separate process. It involves the breakdown of sugars at higher temperatures (above 320°F or 160°C). Both reactions happen during Dutch oven baking, but the Maillard reaction dominates crust color development. The steam environment in a closed Dutch oven keeps the crust surface cool enough to delay caramelization while the Maillard reaction progresses evenly.
Important: Moisture on the dough surface actually slows down browning. This is why the lid-on phase produces a pale, flexible crust. The color develops only after you remove the lid and the surface dries out. This two-phase process gives Dutch oven bread its signature thick, dark, crisp crust.
How Steam Creates Better Oven Spring
Oven spring is the final burst of expansion that happens in the first 10-15 minutes of baking. During this phase, yeast activity spikes briefly before dying off at around 140°F. The trapped steam in a Dutch oven keeps the crust flexible, allowing the dough to expand more before the crust sets.
According to research from the University of Nebraska-Lincoln Food Science Department, steam in the baking chamber increases loaf volume by 25-35% compared to dry heat alone. The steam delays crust formation by approximately 5-8 minutes, giving the expanding gases more time to work.
Without steam, the crust begins to form within 2-3 minutes. It hardens quickly and restricts expansion. The result is a smaller loaf with a thicker, tougher crust that lacks the characteristic crackle. The Dutch oven solves this problem by creating a sealed microclimate with nearly 100% humidity for the first 20 minutes.
Step-by-Step Process for Dutch Oven Bread
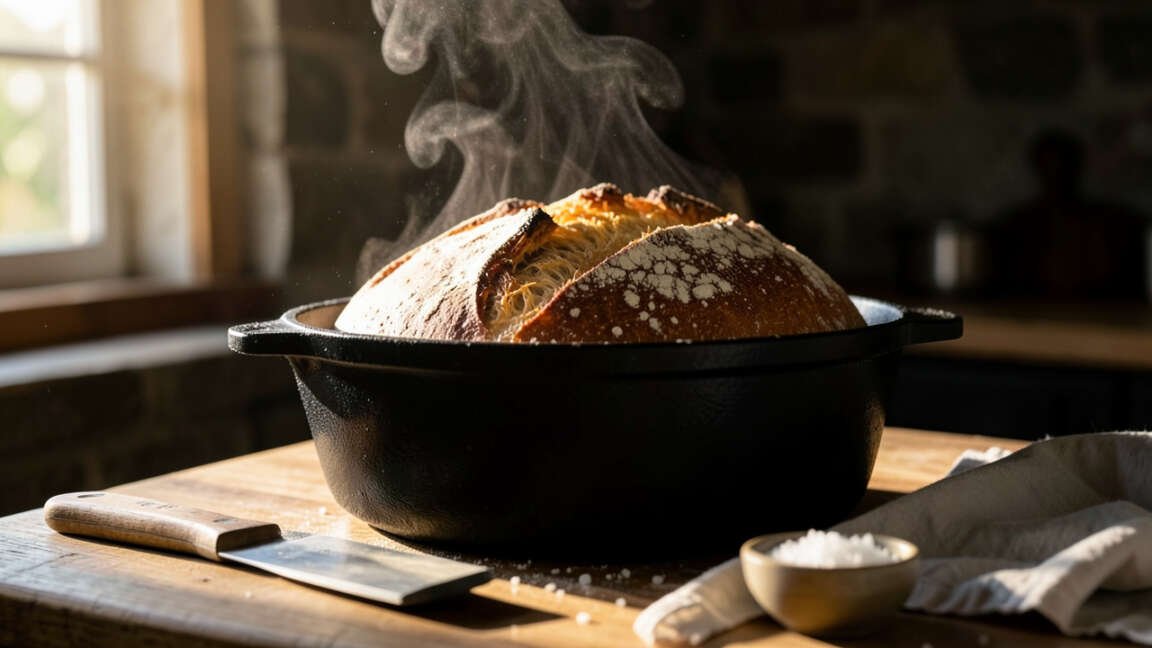
Follow these steps in order. Each step has a purpose related to crust science. Skipping or rushing any step will affect your final crust quality.
Step 1: Mix the Dough
Combine the flour, water, salt, and yeast in a large bowl. Mix with a wooden spoon or your hands until no dry flour remains. The dough will look rough and shaggy. Do not knead at this stage. Cover the bowl and let it rest for 30 minutes. This is called autolyse. It allows the flour to absorb water fully and starts gluten development without mechanical work.
Step 2: Stretch and Fold (Bulk Fermentation)
Over the next 2-3 hours, perform a series of stretch and folds every 30 minutes. Wet your hands slightly to prevent sticking. Grab one side of the dough, stretch it upward, and fold it over the opposite side. Rotate the bowl and repeat 4 times total. This builds gluten strength without the harshness of traditional kneading. Strong gluten traps gas better, which leads to better oven spring and a more open crumb.
Step 3: Shape the Dough
After bulk fermentation, turn the dough onto a lightly floured surface. Gently shape it into a round boule by pulling the edges toward the center and pinching them together. Flip the dough seam-side down and use your hands to create surface tension by dragging the dough across the counter in a circular motion. Place it seam-side up in a floured banneton.
Tip: Use rice flour for dusting your banneton. Rice flour does not absorb moisture like wheat flour, so it keeps the dough from sticking during the final proof. You will get a cleaner release and a prettier pattern on the crust.
Step 4: Final Proof (Cold or Room Temperature)
Cover the banneton with a clean kitchen towel or plastic wrap. Let the dough proof at room temperature for 1-2 hours, or refrigerate it overnight for 8-14 hours. Cold proofing develops more flavor because enzymatic activity continues slowly. It also makes the dough easier to handle and score. A well-proofed dough feels puffy and springs back slowly when poked.
Step 5: Preheat the Dutch Oven
Place your Dutch oven with the lid on inside your oven. Preheat it to 475°F (245°C) for at least 45 minutes. The pot must be fully hot to create instant steam when the dough hits the surface. A cold pot will not produce enough steam, and the dough will stick to the bottom. According to Cook’s Illustrated, a preheated Dutch oven at 450°F creates a baking environment with approximately 400% more humidity than an open oven.
Step 6: Score the Dough
Carefully remove the hot Dutch oven from the oven. Place a piece of parchment paper on top of the banneton and invert the dough onto the paper. Hold a razor blade or lame at a 30-45 degree angle and make one deep slash (about 1/2 inch deep) across the center of the dough. You can also make a cross or square pattern. The score line controls where the bread expands during oven spring. A good score creates an ear – a lifted flap of crust that is the hallmark of artisan bread.
Warning: The Dutch oven is extremely hot. Use heavy oven mitts and keep your face away from the pot when opening it. The burst of steam can burn your skin. Place the pot on a heat-safe surface or trivet before transferring the dough.
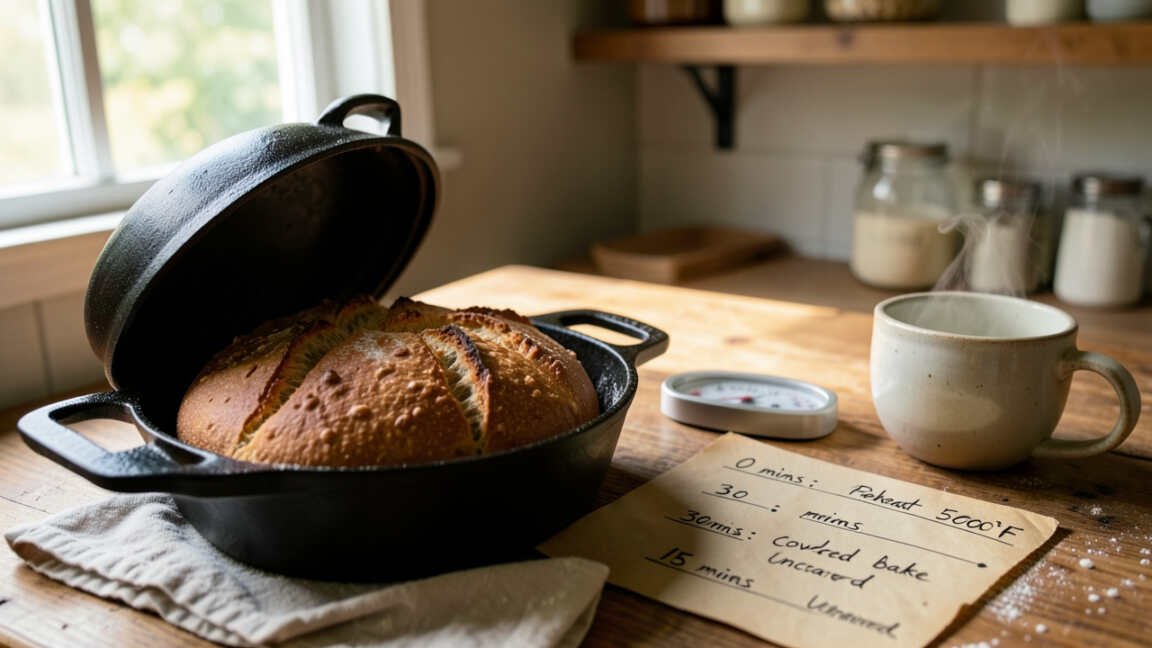
Step 7: Bake Covered (Steam Phase)
Lift the dough using the parchment paper and lower it carefully into the hot Dutch oven. Put the lid on immediately and place the pot back in the oven. Bake for 20 minutes at 475°F. During this phase, the dough releases moisture that turns to steam inside the sealed pot. The steam condenses on the dough surface, keeping it soft and flexible. The crust does not set yet. The bread expands fully.
Step 8: Bake Uncovered (Browning Phase)
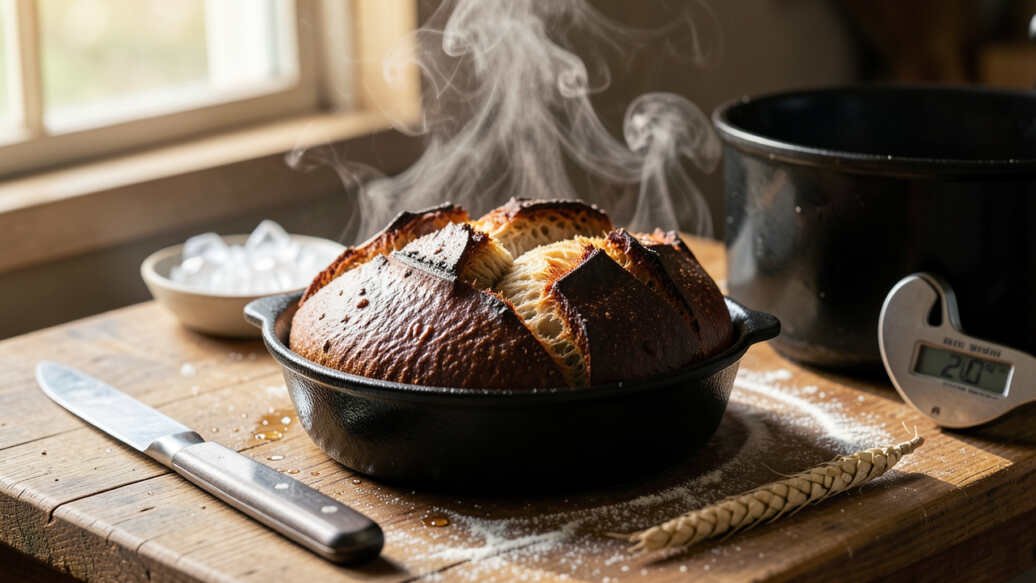
After 20 minutes, remove the lid from the Dutch oven carefully. The bread will look pale and soft on top. Continue baking for 10-15 minutes more with the lid off. This is when the Maillard reaction and caramelization happen. The exposed crust dries out quickly and turns deep golden brown. The internal temperature should reach 200-210°F (93-99°C) when fully baked.
Step 9: Cool Completely
Transfer the bread to a wire rack and let it cool for at least 1 hour before slicing. The crust continues to crisp as it cools. Steam trapped inside the crumb needs to escape. If you cut too early, the interior will be gummy and the crust will lose its crunch. You will hear the crust crackle and pop during the first few minutes of cooling – that is the sound of a successful bake.
What to Expect: Timeline and Temperature Guide
Dutch oven bread takes about 1.5 to 2 hours of active time spread across a day. The table below shows the full timeline for a same-day bake.
| Stage | Time Required | Temperature | What Happens to Crust |
|---|---|---|---|
| Mix and autolyse | 30 minutes | Room temp (68-72°F) | No crust yet – dough is raw |
| Bulk fermentation with stretch and folds | 2.5 to 3 hours | Room temp (68-72°F) | No crust yet – gluten develops |
| Shape and final proof | 1-2 hours or overnight | Room temp or 38-40°F fridge | No crust yet – dough rises |
| Preheat Dutch oven | 45 minutes | 475°F (245°C) | Pot stores intense heat |
| Bake covered | 20 minutes | 475°F (245°C) | Crust stays soft – steam delays setting |
| Bake uncovered | 10-15 minutes | 475°F (245°C) | Crust browns and crisps via Maillard reaction |
| Cool on rack | 1 hour minimum | Room temp | Crust finalizes – moisture equalizes |
Common Mistakes to Avoid
Even experienced bakers make these errors. Each one directly damages crust quality. Review this list before your next bake.
- Skipping the preheat – Placing dough into a cold Dutch oven prevents immediate steam formation. The crust begins setting before the bread expands, leading to a dense loaf with a thick, tough crust. Always preheat for at least 45 minutes.
- Opening the lid too early – The covered phase needs the full 20 minutes. Opening the lid releases steam and drops the chamber humidity. The crust sets too early and oven spring stops. Do not peek.
- Using too much flour on the surface – Excess flour on the dough before baking creates a dry barrier that prevents the crust from browning evenly. Use a light dusting only. Brush off loose flour before scoring.
- Underproofing the dough – Underproofed dough lacks the gas volume needed for strong oven spring. The bread stays small and dense, and the crust becomes thick and chewy rather than thin and crisp. The dough should feel puffy and hold a fingerprint when poked.
- Cutting the bread too early – Cutting while the bread is still warm releases steam from the crumb too quickly. The interior becomes gummy, and the crust loses its crunch. Wait at least 1 hour for the crust to stabilize.
Warning: Overproofing is just as harmful as underproofing. If the dough has risen too long, the gluten structure weakens and the bread collapses during baking. The crust will be pale, thin, and the loaf will flatten. Proof until the dough is puffy but still holds some resistance when poked gently.
Pro Tips for Perfect Dutch Oven Crust
These advanced techniques come from professional bakers and food scientists. They elevate your crust from good to exceptional. For official food safety guidelines, refer to the USDA bread baking basics page.
- Add an ice cube – Drop a single ice cube into the Dutch oven just before closing the lid. The ice instantly turns to steam, boosting humidity for the first few critical minutes. This extra burst of steam can increase oven spring by up to 10%.
- Use a higher hydration dough – Dough with 75-80% hydration (375-400 grams of water per 500 grams of flour) releases more steam during baking. More steam means more oven spring and a thinner, crispier crust.
- Spritz the dough before scoring – Lightly mist the dough surface with water from a spray bottle just before scoring. This adds a thin layer of moisture that delays crust setting by an additional 1-2 minutes, allowing more expansion.
- Try different scoring patterns – A single deep slash produces one large ear. A cross or square pattern creates multiple ears and a more textured crust. Experiment with angle and depth to change the final appearance.
- Brush with butter after baking – For a softer, shiny crust, brush the hot bread with melted butter as soon as it comes out of the oven. The butter adds flavor and creates a subtle sheen while keeping the crust slightly tender.
Tip: Store Dutch oven bread cut-side down on a wooden cutting board. This keeps the crust crisp for 2-3 days. Do not store in plastic bags – the trapped moisture softens the crust into leather. If the crust does soften, refresh it in a 350°F oven for 5 minutes.
How Dutch Oven Material Affects Crust Quality
Not all Dutch ovens perform the same. The material and construction affect heat retention, steam production, and crust browning. Choose based on your priorities. Understanding the Maillard reaction chemistry explains the deep browning of the crust.
| Material | Heat Retention | Crust Browning | Best For |
|---|---|---|---|
| Raw cast iron (Lodge) | Excellent | Deep, dark crust | Maximum crust thickness and crunch |
| Enameled cast iron (Le Creuset, Staub) | Very good | Even, golden-brown crust | Even browning without hot spots |
| Stainless steel with heavy bottom | Good | Lighter crust color | Beginner bakers on a budget |
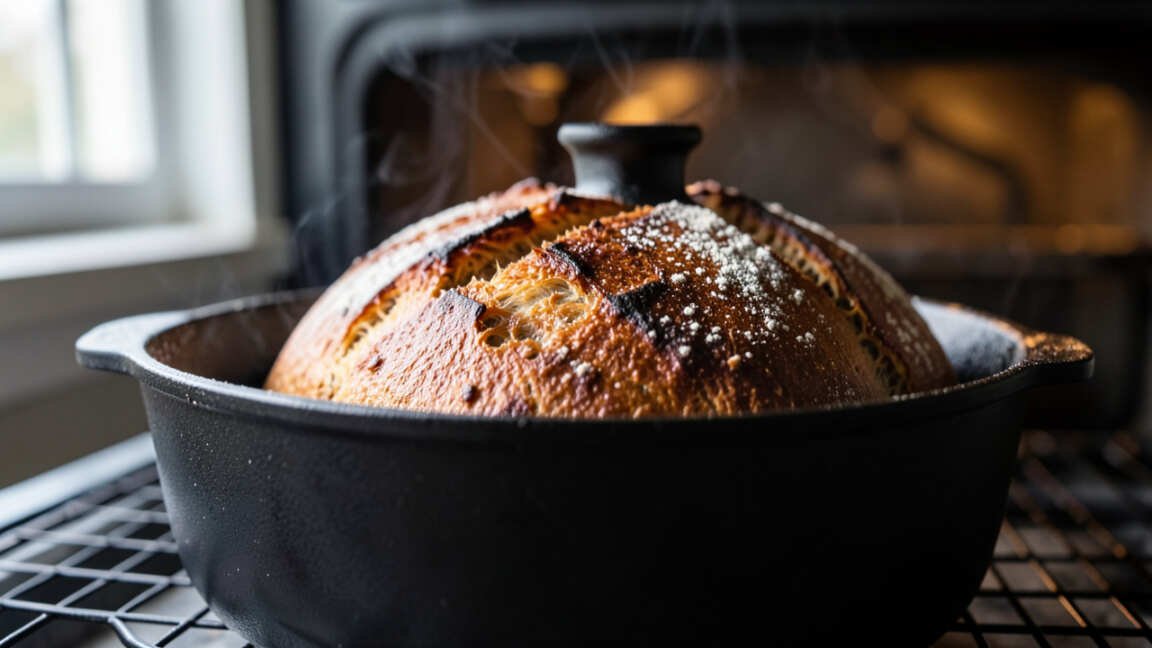
Raw cast iron produces the thickest, crunchiest crust because it retains heat longer and creates more intense bottom heat. Enameled cast iron gives more even browning without the risk of the dough sticking to bare iron. Choose raw cast iron for rustic, dark crusts. Choose enameled for cleaner release and more uniform color.
Frequently Asked Questions
Do I need to preheat the Dutch oven for bread?
Yes, preheating is essential. A hot Dutch oven creates instant steam when the dough hits the surface. According to the American Institute of Baking, proper steam in the first 5 minutes increases oven spring by over 30%. Preheat for at least 45 minutes at 475°F for best results.
Can I bake bread in a Dutch oven without a lid?
You can, but you will lose the steam advantage. Without the lid, the crust sets early and the bread will not expand as much. The crust will be thicker, paler, and less crisp. If you must bake without a lid, place a pan of boiling water on the rack below to create some steam.
Why does my Dutch oven bread turn out pale?
Pale crust usually means the temperature is too low or the lid was left on too long. Check that your oven is actually reaching 475°F. Also, remove the lid at the 20-minute mark to expose the crust to dry heat. If the bread is still pale after 15 minutes uncovered, increase the temperature by 25°F.
Can I use a glass lid instead of the original Dutch oven lid?
Yes, glass lids work as long as they are oven-safe to 475°F. The benefit is that you can see the bread without opening the oven. However, glass lids may not seal as tightly as metal lids, so some steam may escape. This can reduce oven spring slightly compared to a tight-fitting metal lid.
How do I fix a soggy bottom crust?
A soggy bottom happens when moisture gets trapped between the bread and the pot. Remove the bread from the Dutch oven immediately after baking and place it on a wire rack. For prevention, sprinkle a thin layer of cornmeal or semolina on the parchment paper before lowering the dough. This absorbs excess moisture and creates a barrier.
Final Thoughts
Baking bread in a Dutch oven gives you professional-style crust with minimal equipment. The science is simple: steam delays the crust, and intense heat browns it perfectly. Master the preheat, the covered baking time, and the cooling rest, and you will get a crackling, deep-colored crust every time. Keep experimenting with hydration levels and scoring patterns to make each loaf better than the last. Readers looking for reliable background can compare this guidance with authoritative information about Dutch oven cooking.

Leave a Reply