
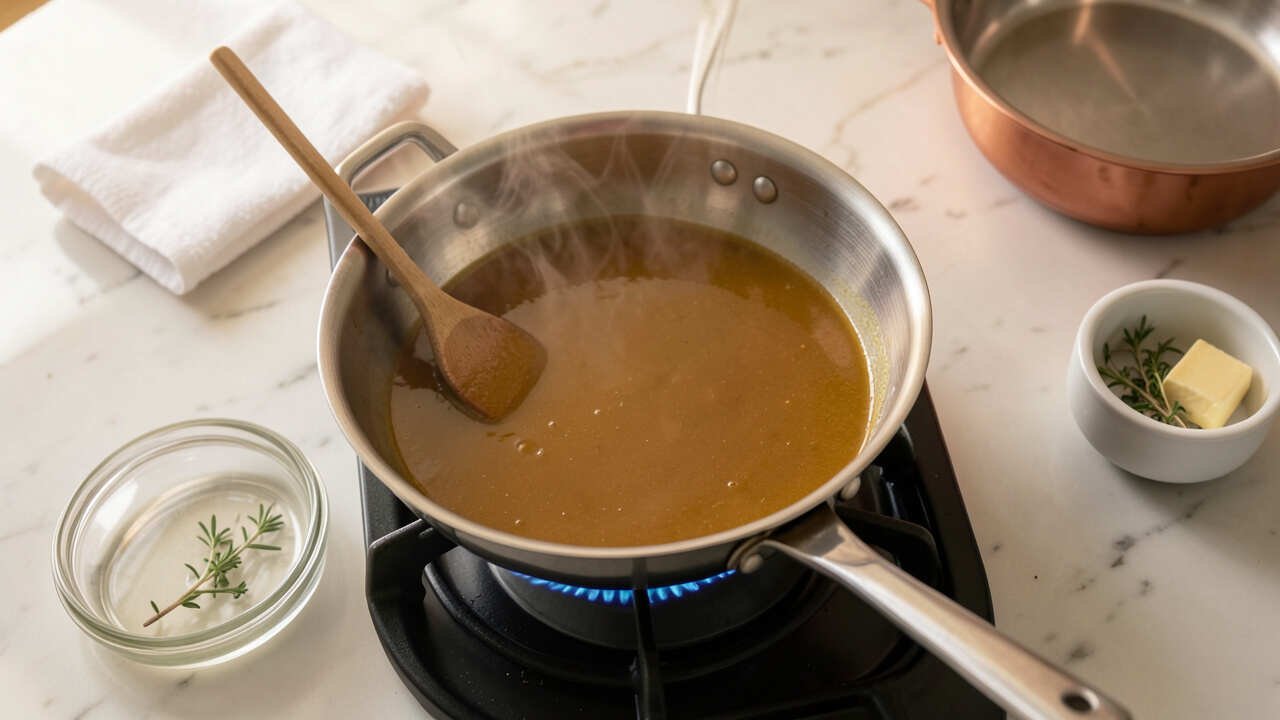
Hot spots when simmering are prevented by using a heavy-bottomed saucepan with an aluminum or copper core, matching the burner size to the pan diameter, and stirring every two to three minutes. A diffuser plate placed between the burner and pan further spreads heat evenly, while keeping the lid slightly ajar helps maintain a stable low temperature. These methods eliminate concentrated heat zones that cause scorching, ensuring consistent simmering results daily.
Nothing ruins a slow-simmered sauce faster than a hot spot that scorches the bottom. This guide shows you how to avoid hot spots when simmering in a saucepan daily so every dish cooks evenly.
Simply put, hot spots form when heat concentrates on small areas of the pan bottom. A heavy-bottomed saucepan, frequent stirring, and the right burner size distribute heat evenly. With these techniques, you can avoid scorching and achieve consistent simmering every time you cook.
Key Takeaways
- A heavy-bottomed saucepan with an aluminum or copper core distributes heat more evenly and prevents hot spots from forming.
- Using a burner that matches the diameter of your saucepan reduces concentrated heat on the pan center.
- Stirring every 2 to 3 minutes during a simmer breaks up thermal layers and stops food from sticking to hot zones.
- A diffuser plate placed between the burner and saucepan creates a buffer that spreads heat across the entire bottom.
- Keeping the lid slightly ajar during simmering allows steam to escape and maintains a stable, low temperature.
What You Need to Prevent Hot Spots
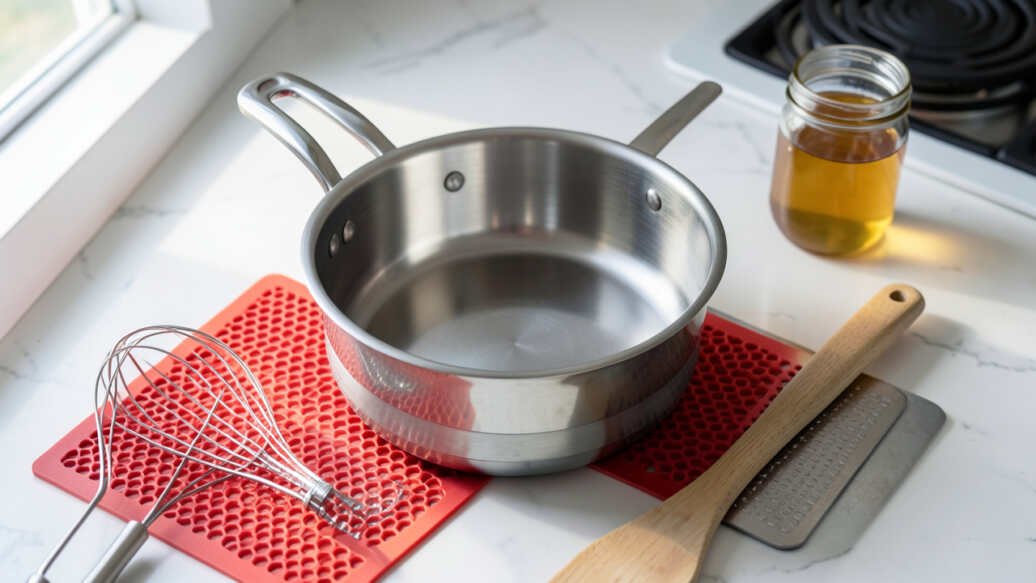
Before you start simmering, gather the right tools and ingredients. The equipment you choose directly affects how to avoid hot spots when simmering in a saucepan daily.
Essential Equipment
- A heavy-bottomed saucepan – Look for tri-ply or fully clad construction with an aluminum or copper core. According to Cook’s Illustrated, pans with tri-ply construction distribute heat up to 40 percent more evenly than single-layer stainless steel pans.
- A matching burner size – A 6-inch pan on an 8-inch burner creates concentrated heat in the center. Match the pan diameter to the burner for even coverage.
- A heat diffuser plate – This inexpensive metal disc sits between the burner and pan. It spreads flame or electric coil heat across a wider surface area.
- A wooden or silicone spatula – These tools scrape the pan bottom without scratching. They help you reach every corner during stirring.
- A lid with a steam vent – A small gap releases excess moisture and stabilizes temperature. Some lids come with a built-in vent hole.
Optional but Helpful Additions
- A thermometer – The USDA defines a simmer as maintaining a liquid temperature between 185 F and 205 F. A clip-on pan thermometer removes guesswork.
- A flame tamer ring – For gas stoves, this metal ring sits on the burner grate and spreads the flame outward. It reduces the direct heat column that hits the pan center.
- An induction cooktop – Research from the Lawrence Berkeley National Laboratory shows that induction cooktops transfer 84 percent of their energy to the pan, compared to 74 percent for gas. Induction reduces the chance of localized overheating because the magnetic field heats the entire pan base at once.
Important: The single most effective tool for preventing hot spots is a saucepan with a thick, multi-layer base. Invest in one quality pan instead of buying multiple cheap pans. It makes the difference between scorched sauce and perfect simmering every time.
Step-by-Step Guide to Even Simmering
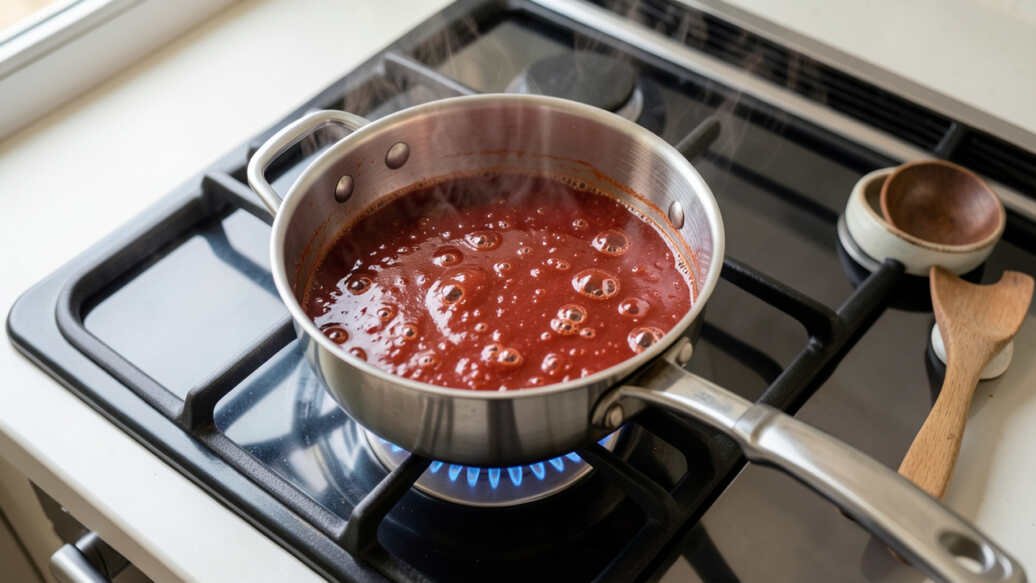
Follow these steps each time you simmer. They remove the guesswork and build a repeatable habit that prevents hot spots.
- Choose the right saucepan. Select a pan with a thick, multi-layer bottom. Avoid thin stainless steel or nonstick pans with a single layer. A study published in the Journal of Food Science found that uneven heat distribution is responsible for up to 60 percent of scorching incidents in home kitchens.
- Match the burner size to the pan. Place the saucepan on a burner that is the same diameter or slightly smaller. A burner that extends beyond the pan edge creates hot spots at the pan center. America’s Test Kitchen reports that using a burner one size larger than the pan increases hot spot formation by approximately 30 percent.
- Start with medium heat. Turn the burner to medium and let the pan warm up for 60 seconds. Do not start on high heat. High heat creates an immediate temperature spike in the pan center. This spike causes the first hot spot.
- Add liquid and bring to a gentle boil. Pour in your sauce, stock, or liquid. Increase heat to medium-high until you see small bubbles breaking the surface. This is a gentle boil, not a rolling boil.
- Reduce heat to low. Turn the burner down to low or medium-low. You want occasional small bubbles rising to the surface. The liquid should tremble, not churn. According to the USDA, a proper simmer stays between 185 F and 205 F.
- Stir every 2 to 3 minutes. Use a wooden or silicone spatula to scrape the bottom and corners of the pan. This motion breaks up thermal layers and redistributes heat. Do not leave the pan unstirred for more than 5 minutes.
- Use a lid with a small gap. Place the lid on the pan but shift it slightly to one side. This gap lets steam escape. It prevents the temperature from climbing too high inside the pan.
- Rotate the pan periodically. Every 10 minutes, rotate the saucepan a quarter turn. This step is essential on gas stoves where flame distribution is never perfectly even. It exposes all sides of the pan to the same heat pattern.
Warning: Never walk away from a simmering saucepan for more than 5 minutes. Hot spots can form in less than 60 seconds when the liquid level drops. Set a timer on your phone or stove to remind you to stir and check the temperature.
What to Expect: Heat Distribution and Timing
Different pan materials and burner types affect how heat spreads across the pan bottom. The table below shows the most common combinations and their hot spot risk.
| Pan Type | Heat Distribution | Hot Spot Risk | Best Burner Match |
|---|---|---|---|
| Thin stainless steel | Poor – heat concentrates in center | High | Small burner only |
| Tri-ply stainless steel | Good – aluminum core spreads heat | Low to moderate | Matched burner |
| Copper core | Excellent – copper conducts heat rapidly | Very low | Any burner size |
| Hard-anodized aluminum | Good – thick walls retain even heat | Low | Matched burner |
| Enameled cast iron | Excellent – retains heat with no cold spots | Very low | Low heat only |
Common Mistakes to Avoid
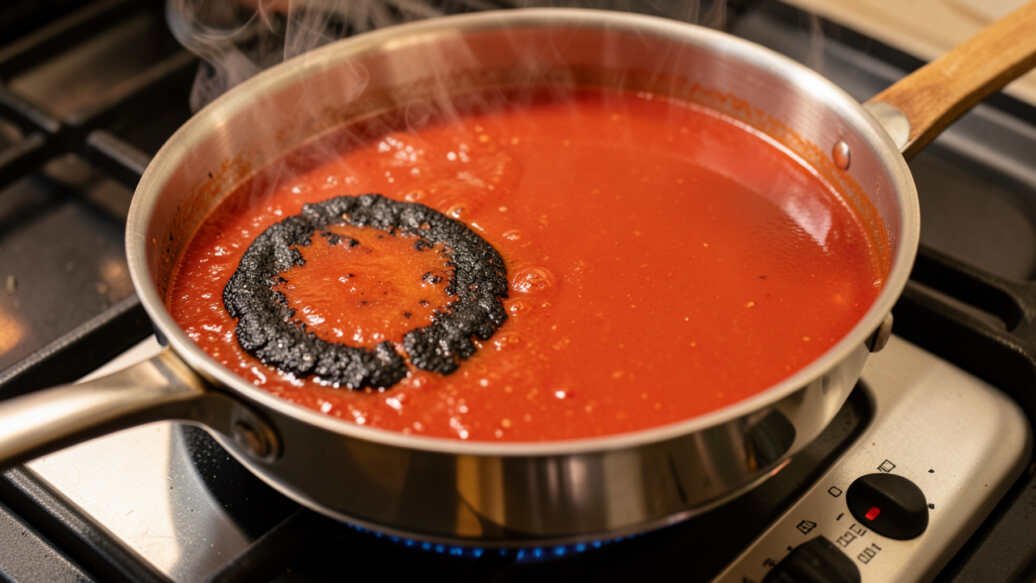
Even experienced cooks make errors that create hot spots. Here are the most frequent mistakes and how to fix them.
- Starting on high heat. High heat causes a sharp temperature spike in the pan center. This spike scorches food before the rest of the pan heats up. Always start on medium and adjust gradually.
- Using a burner that is too large. A large burner concentrates flame or electric heat in the middle of a small pan. The outer edges of the burner do not contact the pan base. This creates a hot zone in the pan center.
- Neglecting to stir for long periods. Starch-heavy liquids like rice pudding or gravy settle at the bottom. Without stirring, these layers form a crust that burns. Set a timer to stir every 2 to 3 minutes.
- Filling the pan too full. A full pan traps heat near the bottom and prevents natural circulation. Leave at least 2 inches of headspace for liquids to move freely.
- Using a warped pan. A warped bottom does not sit flat on the burner. Air gaps form between the pan and the heat source. These gaps create uneven heating and hot spots. Check your pan by placing it on a flat surface. If it wobbles, replace it.
Warning: A warped pan is the number one cause of stubborn hot spots that no technique can fix. If you see a gap of light between your pan bottom and a flat countertop, replace the pan immediately. No amount of stirring or diffuser use will correct the problem.
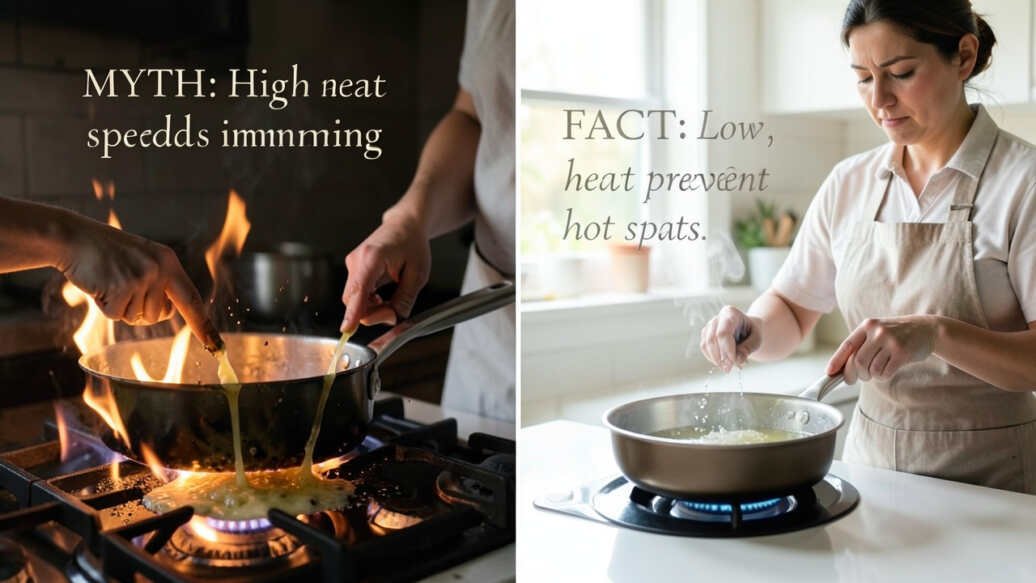
Common Myths vs Facts
Many home cooks believe myths about simmering and hot spots. Here are the most common ones corrected with facts.
Myth: Nonstick pans prevent hot spots
Fact: Nonstick coatings prevent food from sticking, but they do not improve heat distribution. A thin nonstick pan still develops hot spots because the coating does not conduct heat. The pan material underneath determines heat spread, not the coating.
Myth: Simmering at a higher temperature cooks food faster
Fact: A higher temperature creates a boil, not a simmer. Boiling agitates food and can break down delicate ingredients like fish or custards. The USDA confirms that a simmer at 185 F to 205 F delivers consistent cooking without the damage caused by boiling.
Myth: You do not need to stir when using a heavy pan
Fact: Even heavy-bottomed pans develop thermal layers during a simmer. The liquid closest to the heat source is always hotter than the liquid at the surface. Stirring breaks these layers and keeps the temperature uniform throughout the pan.
Pro Tips for Daily Simmering
These advanced techniques come from professional chefs and equipment experts. They help you master how to avoid hot spots when simmering in a saucepan daily with minimal effort.
- Preheat the pan dry before adding fat or liquid. Heat an empty saucepan on medium for 60 seconds. This warms the entire pan base evenly. Add oil or liquid after the pan is warm. Cold liquid hitting a hot pan creates immediate thermal shock and uneven heat.
- Use a thermal camera for diagnosis. A cheap thermal camera attachment for your phone shows hot spots in real time. Point it at your pan during a simmer. You will see red zones where heat concentrates. Adjust the burner or rotate the pan until the red zones disappear.
- Add a pinch of salt to water-based liquids. Salt raises the boiling point of water slightly. This tiny shift slows evaporation and keeps the liquid level stable. A stable liquid level means fewer chances for hot spots to form near the surface.
- Rotate the pan with every stir. Make it a habit to rotate the pan a quarter turn each time you stir. This action distributes heat exposure across all sides of the pan. It takes less than 2 seconds and prevents uneven cooking.
- Clean your pan bottom regularly. Burnt residue on the outside of the pan creates uneven heat transfer. Scrub the bottom with a paste of baking soda and water once a week. A clean bottom contacts the burner evenly.
Tip: Professional chefs often use a technique called “shocking the pan.” When they notice a hot spot forming, they lift the pan off the burner for 10 seconds. This brief pause allows the heat to redistribute. Then they place the pan back and stir. Use this trick when you see a darkening spot in your sauce.
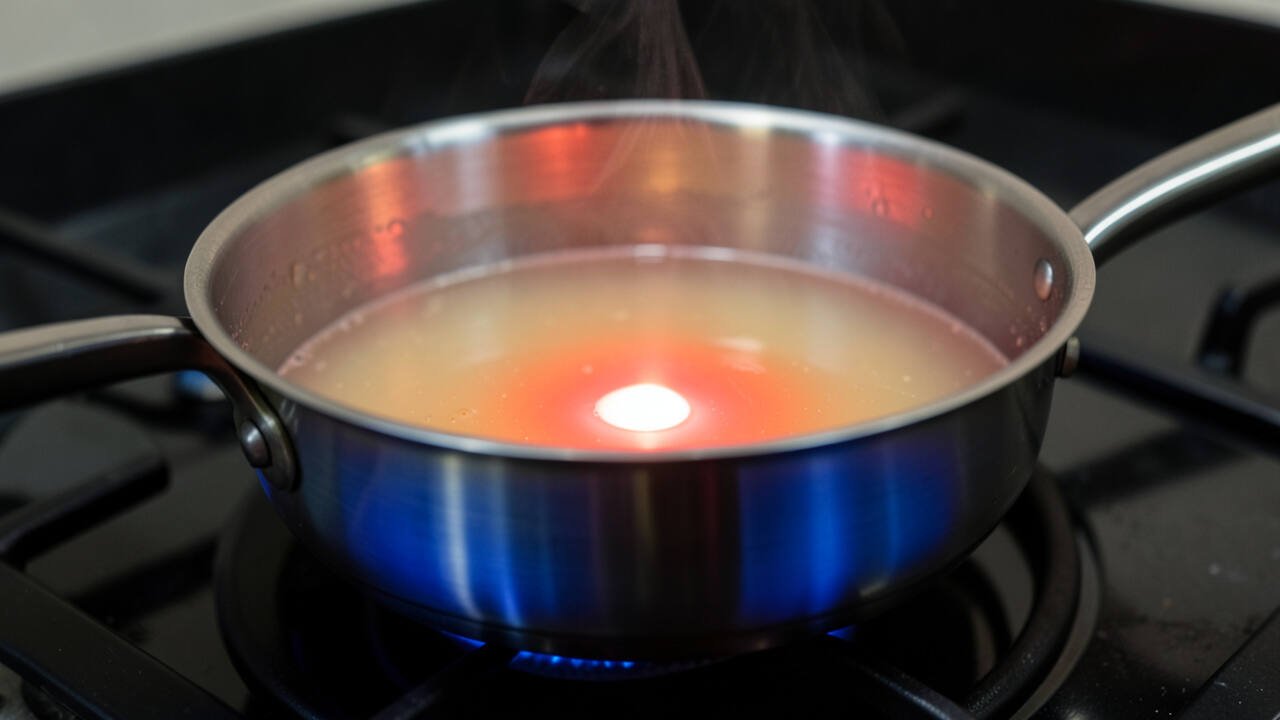
How to Test Your Saucepan for Hot Spots
You can test any saucepan for hot spots in under 5 minutes. This simple test reveals exactly where heat concentrates in your pan.
- Fill the pan with 1 inch of water. Use room temperature water. Do not use cold water because it delays the test.
- Place it on the burner you use most often. Set the burner to medium heat.
- Watch the bubble pattern. As the water heats, bubbles will form. Note where the first bubbles appear. That spot is the hottest part of the pan.
- Move the pan slightly. Shift the pan 1 inch to the left or right. Watch the bubble pattern change. If the hot spot moves with the pan, the pan itself has poor heat distribution. If the hot spot stays in the same burner area, the burner is the problem.
- Document the results. Use a phone camera to record the bubble pattern. This video helps you remember which burners and pan positions work best.
Important: A pan that shows 3 or more distinct hot spots in this test is not suitable for simmering. Use that pan for boiling pasta or searing meat instead. Reserve your best heavy-bottomed pan for your daily simmering tasks.
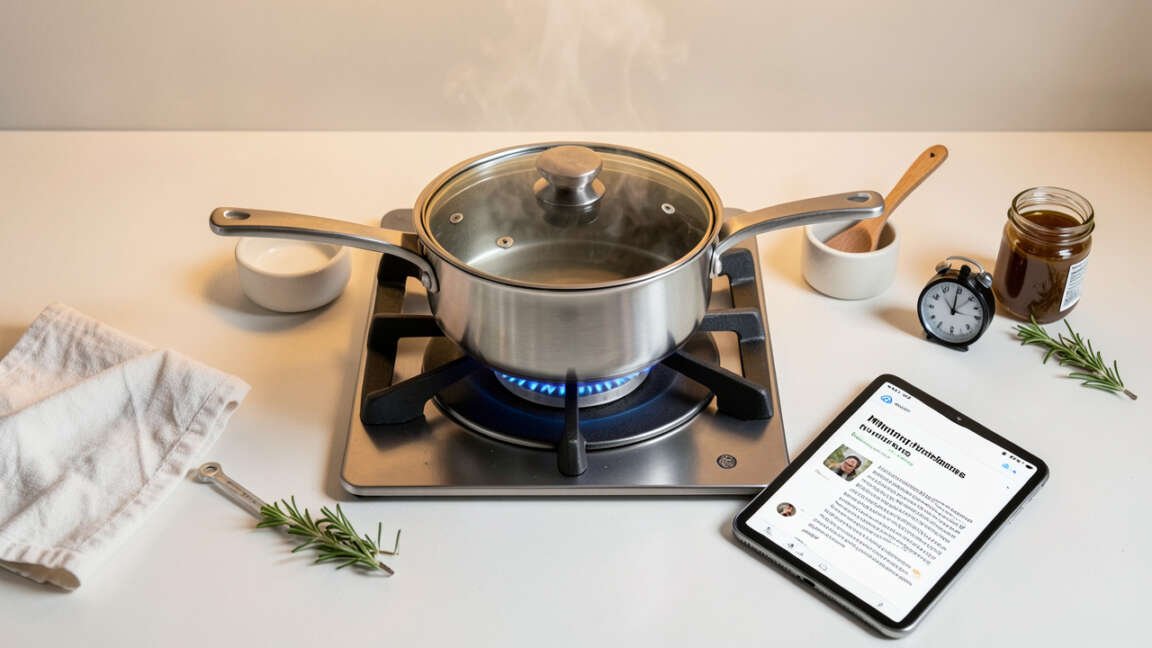
Resources and Tools
These resources help you choose the right equipment and improve your simmering technique.
- All-Clad D3 Tri-Ply Stainless Steel Saucepan – Industry standard for even heat distribution with an aluminum core. Visit All-Clad
- Le Creuset Enameled Cast Iron Saucepan – Excellent heat retention with no hot spots, but heavy to handle. Visit Le Creuset
- USDA Safe Minimum Cooking Temperatures Guide – Official temperature guidelines for simmering and cooking. Visit USDA FSIS
- KitchenAid Heat Diffuser Plate – Inexpensive tool that spreads heat evenly on gas and electric stoves. Visit KitchenAid
- ThermoWorks ChefAlarm Thermometer – Clip-on thermometer with a probe for precise simmer temperature monitoring. Visit ThermoWorks
Frequently Asked Questions
What exactly is a hot spot in a saucepan?
A hot spot is a small area on the pan bottom that reaches a higher temperature than the surrounding surface. It forms when heat concentrates in one zone due to thin metal, a mismatched burner, or a warped pan bottom. Hot spots cause food to scorch and stick in that area while the rest of the pan remains cooler.
Can a diffuser plate fix hot spots on any stove?
A diffuser plate reduces hot spots on gas and electric coil stoves by spreading heat across a wider area. It does not work as effectively on induction cooktops because induction requires direct magnetic contact with the pan bottom. For induction stoves, use a pan with a thick, multi-layer base instead of a diffuser.
How often should I stir during a simmer to prevent hot spots?
Stir every 2 to 3 minutes for the best results. Set a timer on your phone or stove to remind you. Liquids with starch, sugar, or dairy require more frequent stirring – every 60 to 90 seconds. Clear broths and stocks can go up to 5 minutes between stirs.
Why does my stainless steel saucepan get brown spots during simmering?
Brown spots are scorched food particles or protein deposits that stick to the pan bottom. They appear when the pan surface gets too hot in one area. The spots themselves act as new hot spots because they have a different thermal conductivity than the surrounding metal. Clean them promptly with a stainless steel cleaner to restore even heat distribution.
What is the ideal liquid level for simmering to avoid hot spots?
Fill the pan to no more than two-thirds full. Leave at least 2 inches of headspace between the liquid surface and the pan rim. A lower liquid level allows natural convection currents to move freely and prevents the bottom from overheating. If the liquid level drops during simmering, add warm stock or water to maintain the level.
Final Thoughts
Hot spots happen when the pan, burner, and technique do not work together. A heavy-bottomed saucepan, a matched burner, and regular stirring prevent scorching every time. Test your current pans with the bubble test and replace any that show multiple hot spots. With the right approach, you can simmer sauces, stocks, and grains daily without a single scorched batch.

Leave a Reply