
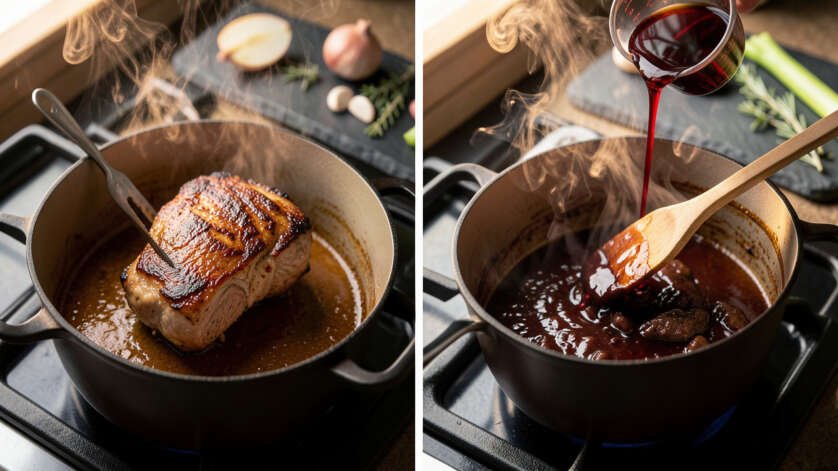
To sear then braise in one pot without burning fond, immediately deglaze the pan after searing and maintain a gentle simmer between 180°F and 200°F. Using a heavy-bottomed pot like enameled cast iron and enough liquid to cover at least one-third of the food prevents the fond from carbonizing. Keeping the liquid from boiling aggressively ensures the pan temperature stays below 350°F, which stops the fond from turning bitter.
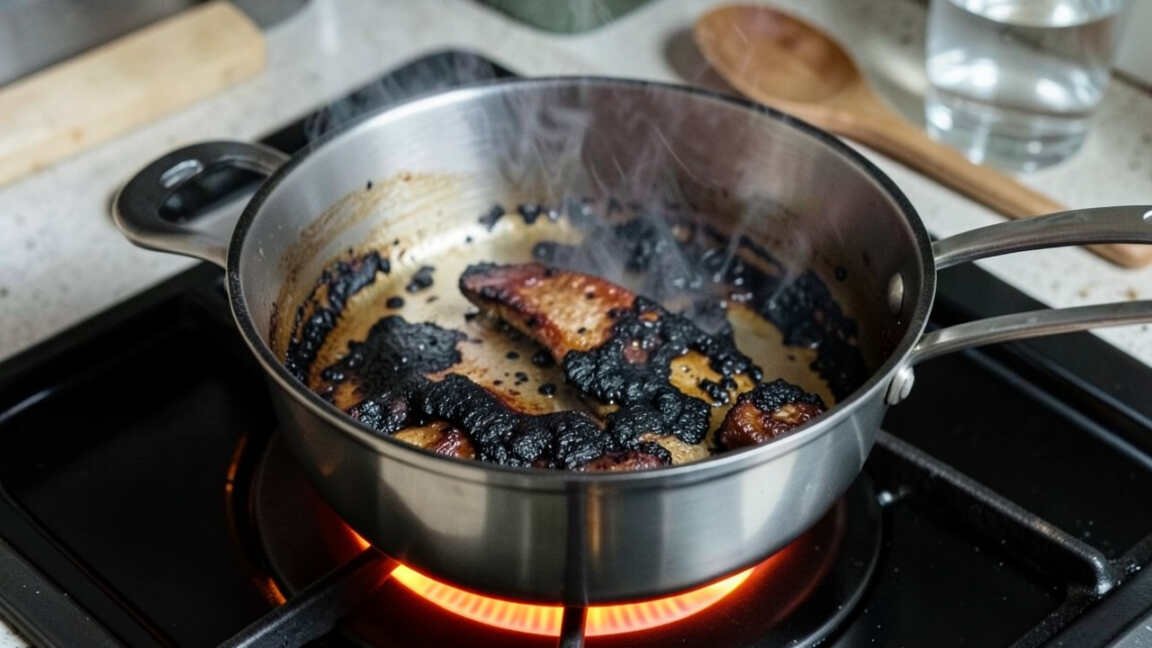
You sear meat in a hot pan, add liquid, and simmer. But when you lift the lid, the fond has burned into a bitter crust. This happens to almost every home cook at some point.
This guide shows you exactly how to sear then braise in one pot without burning the fond.
Quick Verdict: Simply put, fond burns when the pan temperature stays above 350°F during braising after searing. To avoid it, lower the heat before adding liquid, use enough liquid to cover at least one-third of the food, and deglaze the pan immediately after searing. Watch the heat level – never let the liquid boil aggressively.
Key Takeaways
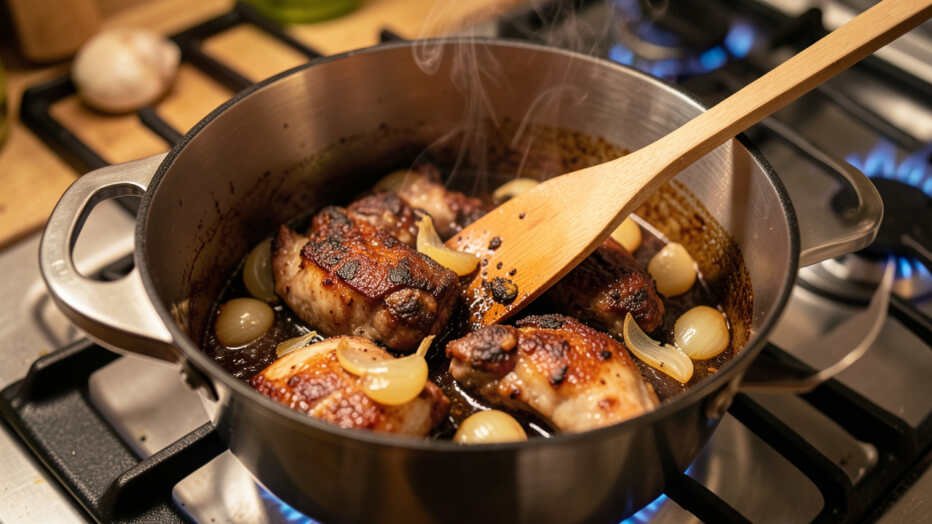
- Fond consists of browned proteins and sugars stuck to the pan after searing; it adds deep flavor to braises.
- Burning occurs when the pan temperature exceeds 375°F while the liquid is reducing too quickly.
- Lowering the heat to a gentle simmer (around 180-200°F) prevents the fond from carbonizing.
- Using a heavy-bottomed pot like enameled cast iron distributes heat evenly and reduces hot spots.
- Deglazing with wine or stock immediately after searing dissolves the fond into the liquid before it can burn.
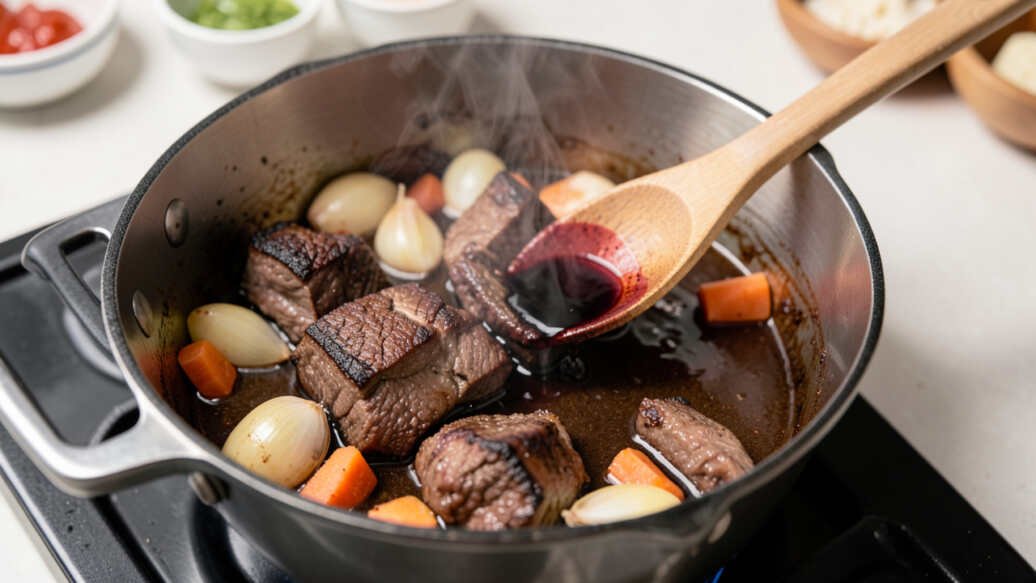
What You Need to Sear and Braise Without Burning
Before you start, gather the right equipment and ingredients. Using the wrong pan or heat level causes almost all fond-burning problems.
Essential Equipment
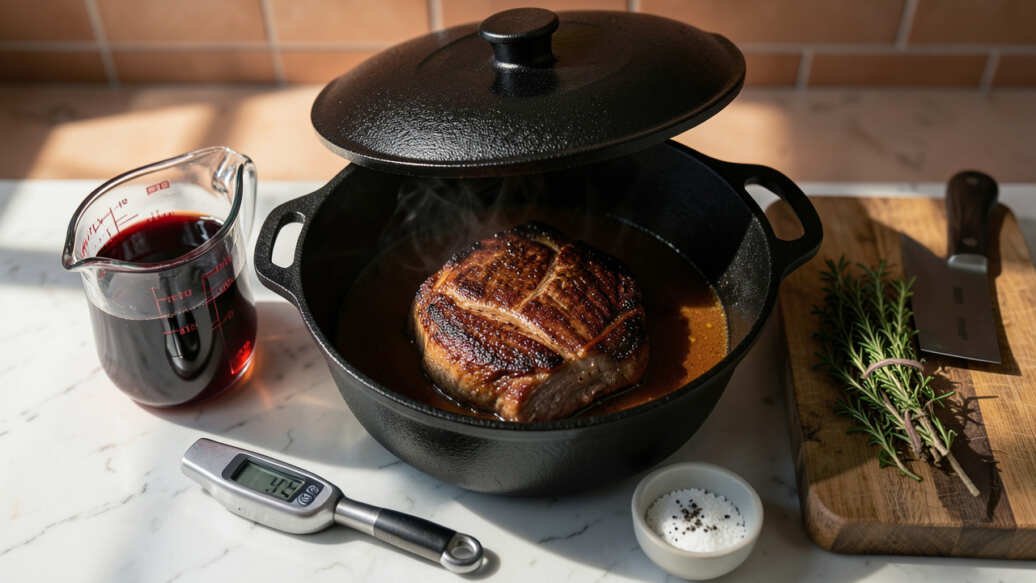
- Heavy-bottomed pot – enameled cast iron (like Le Creuset) or tri-ply stainless steel. Thin pans create hot spots.
- Tongs or a spatula for turning meat without piercing it.
- Wooden spoon or flat-edged spatula for scraping fond during deglazing.
- Lid that fits tightly to trap steam and maintain braising temperature.
- Instant-read thermometer to check liquid temperature (optional but helpful).
Key Ingredients
- Protein – beef chuck, pork shoulder, chicken thighs, or lamb shanks work best. Pat dry with paper towels.
- Oil with high smoke point – avocado oil or grapeseed oil (around 520°F). Olive oil burns too easily.
- Aromatics – onions, garlic, carrots, celery.
- Liquid – stock, wine, beer, or water. Use at least 1-2 cups depending on pot size.
- Acid – wine or vinegar helps break down fond and prevents burning.
Warning: Do not use nonstick pans for searing. They cannot reach high enough temperatures to develop a proper fond. Stick to stainless steel, cast iron, or enameled cast iron.
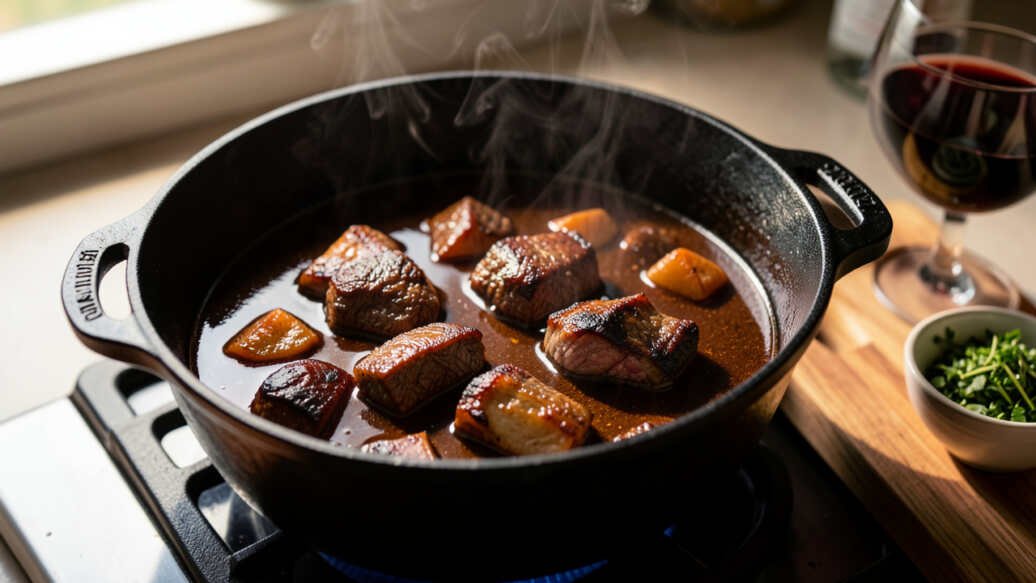
Step-by-Step Process to Sear Then Braise Without Burning Fond
Follow these steps in order. The key is to manage the heat at each stage.
- Preheat your pot over medium-high heat for 2 minutes. Add 2 tablespoons of high-smoke-point oil. Wait until the oil shimmers – that means it is hot enough.
- Pat your protein completely dry with paper towels. Moisture creates steam, which prevents browning. Season generously with salt and pepper.
- Sear the protein without crowding the pan. Work in batches if needed. Leave space between pieces. Cook each side 3-4 minutes until deep mahogany brown.
- Remove the seared protein to a plate. Do not leave it in the pot.
- Reduce heat to medium. Add aromatics (onions, garlic, carrots). Cook 2 minutes, stirring frequently, until softened but not browned.
- Deglaze immediately. Pour in 1/2 cup of wine or stock. Use a wooden spoon to scrape up all the browned bits from the bottom. The fond dissolves into the liquid.
- Return the protein to the pot. Add remaining liquid (stock, water, or more wine) until it reaches one-third to halfway up the meat. Do not submerge completely.
- Bring the liquid to a gentle simmer. You should see small bubbles rising lazily – not a rolling boil. Check with a thermometer: aim for 180-200°F.
- Cover with a tight-fitting lid. Reduce heat to low or medium-low to maintain that gentle simmer. If you see steam escaping forcefully, lower the heat.
- Braise for the recommended time. For beef chuck, 2-3 hours. For chicken thighs, 45 minutes to 1 hour. Check liquid level halfway through; add more if it reduces too much.
Tip: To test if the heat is too high, tilt the pot slightly. If the liquid bubbles vigorously, turn the heat down. A gentle simmer should produce about 5-10 small bubbles per second across the surface.
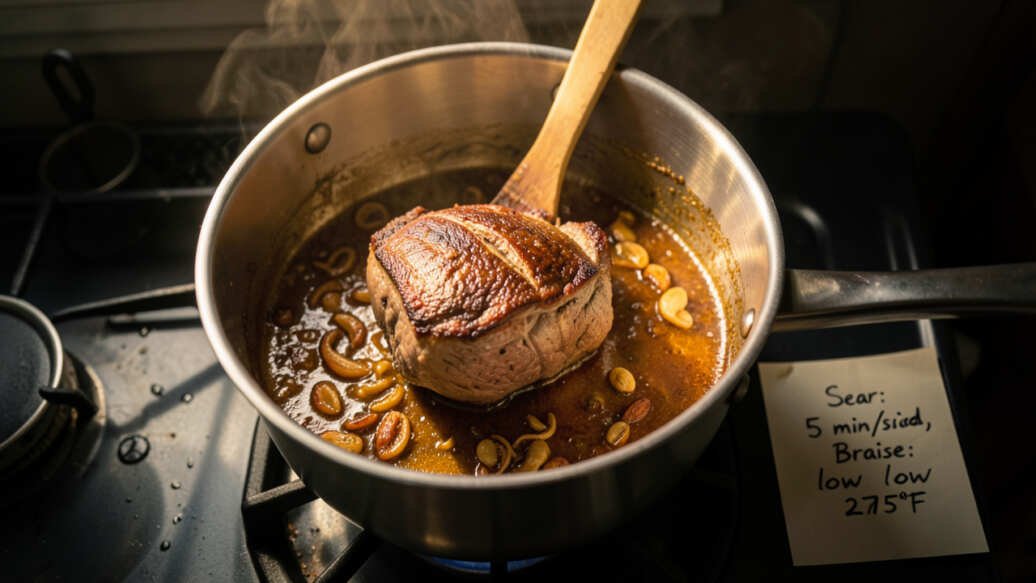
What to Expect: Timeline and Heat Management
How to sear then braise in one pot without burning fond comes down to time and temperature control. Here is a realistic breakdown.
| Stage | Time | Heat Level | Liquid Temp |
|---|---|---|---|
| Preheat pan | 2 minutes | Medium-high (375-400°F) | N/A |
| Sear meat | 3-4 minutes per side | Medium-high | N/A |
| Deglaze | 1-2 minutes | Medium (325°F) | Boiling then drops |
| Braising | 45 min – 3 hours | Low (200-250°F stove) | 180-200°F (gentle simmer) |
Most fond burns happen during the first 10 minutes of braising when cooks forget to lower the heat. After the first 30 minutes, the liquid stabilizes and danger passes.
Common Mistakes That Cause Burning Fond
Even experienced cooks make these errors. Avoid them to keep your fond intact.
- Searing with cold oil. Oil that is not hot enough causes meat to stick and burn before browning. Always wait until the oil shimmers.
- Crowding the pan. Too much meat lowers the pan temperature and releases moisture. The meat steams instead of searing, and the fond becomes watery and burns later.
- Skipping the deglaze. You add liquid directly over the seared fond without scraping it up. The fond stays stuck to the pan bottom and burns as the liquid heats.
- Using too little liquid. If the liquid only covers the bottom 1/4 inch, it evaporates quickly, leaving the fond exposed to direct heat.
- Boiling instead of simmering. A rolling boil at 212°F creates rapid evaporation and concentrates the fond on the pan sides, causing it to burn.
- Lifting the lid too often. Each time you lift the lid, steam escapes, the liquid cools, and you may need to increase the heat to compensate – which risks burning.
Tip: If you need to check doneness, slide the lid slightly to the side instead of fully removing it. This maintains most of the heat and moisture.
Pro Tips for Perfect Fond Every Time
These advanced techniques come from professional chefs who have taught thousands of cooks how to sear then braise in one pot without burning fond.
- Use a thermometer to monitor the liquid temperature. Insert an instant-read thermometer into the liquid (not the meat). Maintain 180-200°F. If it creeps above 205°F, lower the heat immediately.
- Add a pinch of baking soda to the liquid. Trusted sources like Serious Eats suggest that a tiny amount (1/8 teaspoon per quart) raises the pH, helping to break down fond and prevent burning. Do not use more – it can make the meat mushy.
- Choose a pan with a heavy bottom and flared sides. The flared sides help distribute heat and reduce the chance of fond getting stuck on the upper edges where it can burn.
- Finish braising in the oven. After searing and deglazing on the stovetop, transfer the covered pot to a 325°F oven. Oven heat is even and gentle, making fond burning nearly impossible.
- If you smell burning, act fast. Turn off the heat, remove the pot from the burner, and stir the liquid. If the fond has already burned (black specks), transfer the contents to a new pot immediately. Do not scrape the burned bits – they will ruin the flavor.
Resources and Tools
These products and references will help you master the technique.
- Le Creuset Enameled Cast Iron Dutch Oven – Even heat distribution and easy cleaning. Visit Site
- Thermapen ONE Instant-Read Thermometer – Accurate to within 0.5°F. Visit Site
- Fine Cooking Magazine – Braising Guide – In-depth article on heat management. Visit Site
- Wooden Spoon Flat Edge Scraper – Ideal for deglazing without scratching. Visit Site
- Serious Eats – The Food Lab: Braising Beef – Scientific breakdown of fond chemistry. Visit Site
Frequently Asked Questions
Can I sear and braise in a nonstick pot?
No. Nonstick pans cannot reach high enough temperatures for proper searing. The coating also prevents fond from forming. Use stainless steel or cast iron instead.
What causes fond to burn when I add wine?
Wine has sugars that can burn if the pan is too hot. Deglaze over medium heat, not high. Stir constantly while the wine reduces. If the wine turns into a sticky mess, your heat is too high.
How do I know if my fond is burned or just dark?
Burnt fond turns black and smells acrid, like charred coffee. Dark brown fond smells nutty and pleasant. If you see black specks floating in the liquid, the fond has burned.
Should I use stock or water for braising?
Stock adds more flavor, but water works fine. Commercial stock often contains sugars that can burn more easily. Homemade stock with no additives is safer for avoiding burnt fond.
Can I save a braise if the fond has started to burn?
Yes, but you must act quickly. Remove the pot from heat, transfer the meat and liquid to a clean pot, and discard the burned residue. Do not scrape the bottom. Add fresh liquid and continue braising on low heat.
Final Thoughts
Searing brings deep flavor, and braising makes meat tender. The trick to avoiding burnt fond is managing heat from start to finish. Deglaze right after searing, keep the liquid at a gentle simmer, and always check that the pan bottom is not too hot. With practice, you will get perfect braises every time.

Leave a Reply