
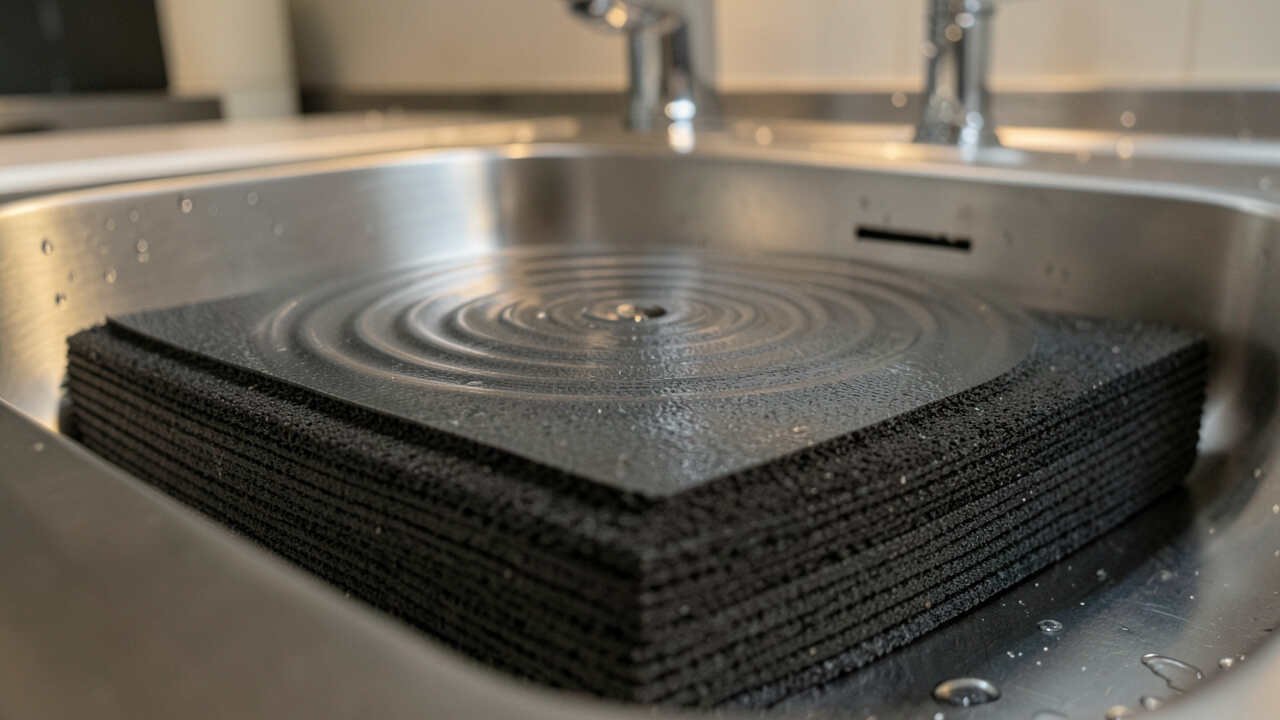
Heavy rubber deadening pads prevent metallic sink echoes by absorbing vibrations and dampening sound waves that create the hollow ringing from metal basins. Installing them on the underside of the sink in under 30 minutes transforms a noisy kitchen or bathroom fixture into a quiet, solid surface that reduces impact noise from dishes and running water. Beyond echo reduction, these pads also improve sink durability by minimizing stress from impact and temperature changes, making them a practical upgrade for any metal sink.
Heavy rubber deadening pads effectively stop metallic sink echoes by absorbing vibration and dampening sound waves. This post explains how these simple yet powerful accessories work, why sinks create noise, and how you can install them for a quieter kitchen or bathroom.
Simply put, heavy rubber deadening pads transform a loud, ringing sink into a quiet, solid surface. By attaching to the underside of the basin, they reduce impact noise from dishes and running water, preventing the hollow echo that plagues many metal sinks.
Key Takeaways
- Heavy rubber deadening pads reduce sink noise by absorbing vibrations that cause metallic echoes.
- Installation requires basic tools and takes less than 30 minutes for most standard sinks.
- These pads also improve sink durability by minimizing stress from impact and temperature changes.
- Choosing the right pad thickness and material ensures maximum sound dampening for your specific sink type.
- Regular maintenance keeps pads effective and prevents mold or adhesive failure over time.
What Are Heavy Rubber Deadening Pads?
Heavy rubber deadening pads are dense, adhesive-backed sheets designed to attach to the underside of metal sinks. Made from materials like butyl rubber or recycled rubber blends, they provide mass and vibration absorption to stop sound waves from traveling through the sink basin.
These pads typically measure between 2 mm and 6 mm in thickness, with thicker options delivering better noise reduction. The rubber composition offers flexibility to conform to curved sink surfaces while maintaining durability against moisture and heat.
- Constructed from butyl rubber, EPDM rubber, or recycled rubber compounds
- Adhesive backing with peel-and-stick application for easy installation
- Available in rolls or pre-cut sheets for different sink sizes
- Resistant to water, mold, and temperatures up to 200°F
- Self-adhesive layer eliminates the need for additional glue or fasteners
- Works on stainless steel, copper, and cast iron sinks
- Non-toxic and safe for residential use
According to the Acoustical Society of America, adding mass to a vibrating surface can reduce airborne sound transmission by up to 15 decibels, making rubber deadening pads a practical solution for noisy sinks.
Tip: For larger sinks or double basins, choose a pad thickness of at least 4 mm to achieve significant echo reduction.
Why Metallic Sink Echoes Happen
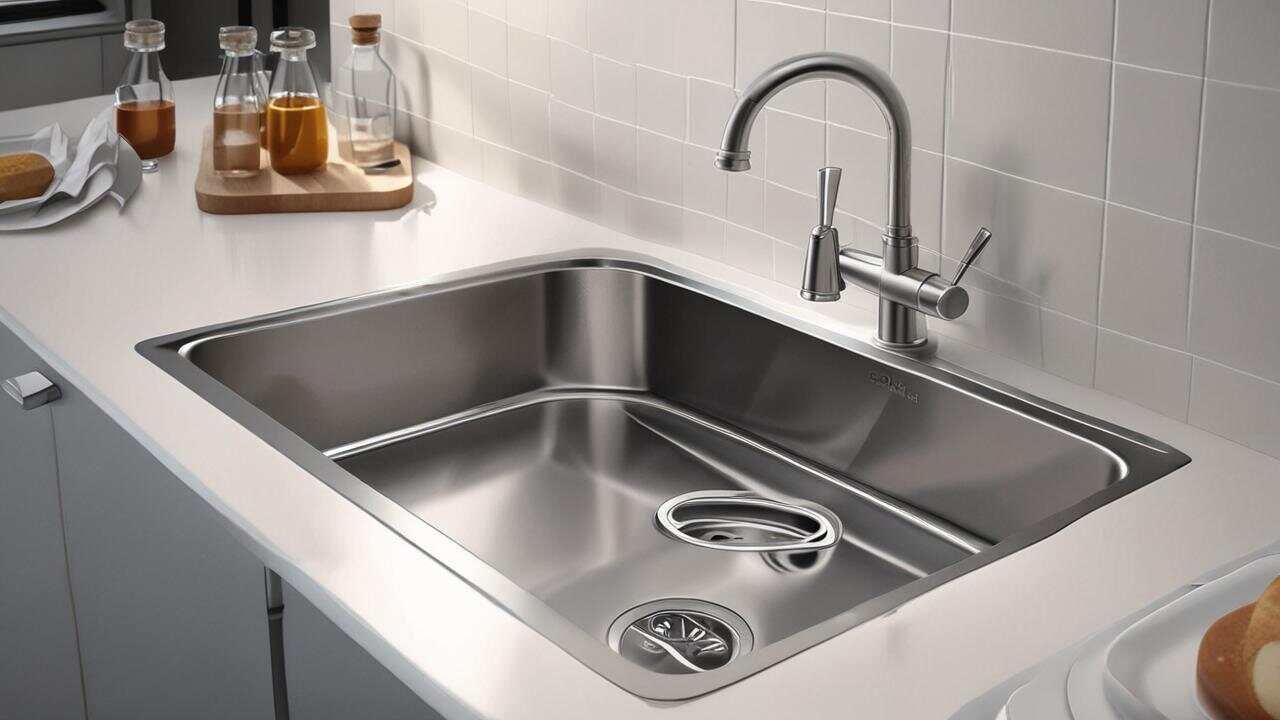
Metallic sink echoes occur due to a combination of material properties and structural design. Thin-gauge stainless steel, common in many modern sinks, vibrates easily when struck by dishes, water, or utensils. This vibration travels through the basin, creating a hollow, ringing sound.
The shape of the sink also plays a role. Deep basins with smooth curved surfaces act like resonance chambers, amplifying sound waves. The National Kitchen and Bath Association reports that nearly 60% of homeowners with stainless steel sinks notice excessive noise during daily use.
- Thin metal gauge (16 to 20 gauge) lacks sufficient mass to dampen vibrations naturally
- Hollow cavity underneath allows sound to echo and amplify
- Hard mounting surfaces transfer vibration to countertops and cabinets
- Lack of insulation in standard sink installations leaves noise unchecked
- Water spray and falling dishes create repeated impact events
- Thermal expansion from hot water can cause metal to creak and ping
- Heavy rubber deadening pad (roll or sheet) sized to cover your sink area
- Measuring tape to measure the underside of the sink basin
- Utility knife or scissors for cutting the pad to fit
- Rubbing alcohol or degreaser for cleaning the sink surface
- Lint-free cloth for wiping away dirt and residue
- Heat gun or hair dryer (optional) to soften adhesive in cold conditions
- Protective gloves to avoid skin irritation from adhesive
Without deadening pads, these echoes can be loud enough to disrupt conversation in open-concept homes. The Acoustical Society notes that impact noise from sinks often exceeds 70 decibels, comparable to a vacuum cleaner running.
| Noise Source | Typical Decibel Level | Without Pad | With Pad |
|---|---|---|---|
| Dish loading | 65-75 dB | Loud, ringing | Muted thud |
| Running water | 50-60 dB | Hollow echo | Soft splashing |
| Utensil drop | 80-90 dB | Sharp ring | Dull impact |
This table clearly shows how heavy rubber deadening pads reduce noise levels, transforming each common sound into a quieter, less intrusive experience.
What You Need to Install Deadening Pads
Installing heavy rubber deadening pads requires minimal supplies, most of which you likely already have at home. The process is straightforward and does not require professional help, saving you both time and money.
Before starting, ensure you have a clean, dry workspace under your sink. Gather these items for a smooth installation session.
Most heavy rubber deadening pads come with a peel-off liner, so you won’t need additional glue or adhesive sprays. The self-adhesive backing is designed to bond firmly to clean, dry metal surfaces.
Important: Do not use soap-based cleaners on the sink surface before applying the pad. Residue can weaken the adhesive bond and cause the pad to peel off over time.
Step 1: Clean the Sink Surface Thoroughly
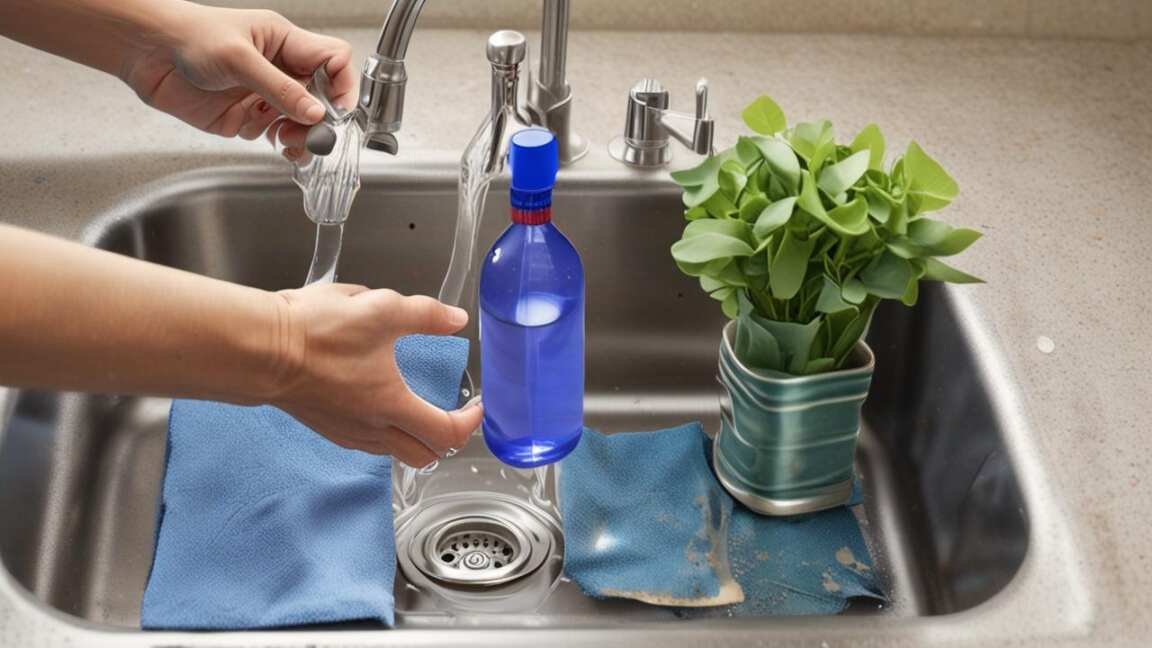
Start by removing everything from under your sink, including pipes, storage baskets, and cleaning supplies. This gives you clear access to the underside of the basin where the deadening pad will attach.
Use rubbing alcohol or a grease-cutting cleaner to wipe down the entire underside area. Focus on removing any dirt, oil, or old sealant residue that might prevent proper adhesion. The Consumer Product Safety Commission recommends that surfaces be free of contaminants for optimal bonding.
- Spray or apply the cleaner to a lint-free cloth, not directly on the sink
- Wipe all areas where the pad will contact, especially corners and seams
- Dry the surface completely with a clean cloth
- Allow 5-10 minutes for any remaining moisture to evaporate
- Check for any sharp edges or burrs that could puncture the pad
A clean surface ensures the adhesive bonds tightly, preventing air pockets that reduce vibration absorption. Skipping this step can lead to peeling within weeks.
Step 2: Measure and Cut the Deadening Pads
Measure the length and width of your sink basin’s underside using a measuring tape. Note any curved sections, corners, or obstructions like drain openings. Transfer these measurements to the rubber pad, adding a 1-inch overlap for complete coverage.
Use a utility knife or heavy-duty scissors to cut the pad to size. For round or oval sinks, cut the pad into smaller sections that fit around the curves. The U.S.
Department of Housing and Urban Development suggests that overlapping seams by at least 1 inch improves sound dampening.
- Cut pads slightly larger than needed to trim exact fit later
- Use a straight edge and ruler for precise cuts
- Score the rubber lightly first with the knife before cutting through
- Test fit each piece before removing the backing
- Mark pieces with tape for orientation if using multiple sections
If your sink has a built-in drain flange or garbage disposal mount, cut corresponding holes in the pad to ensure proper fit around these fixtures.
Step 3: Apply the Pads to the Sink
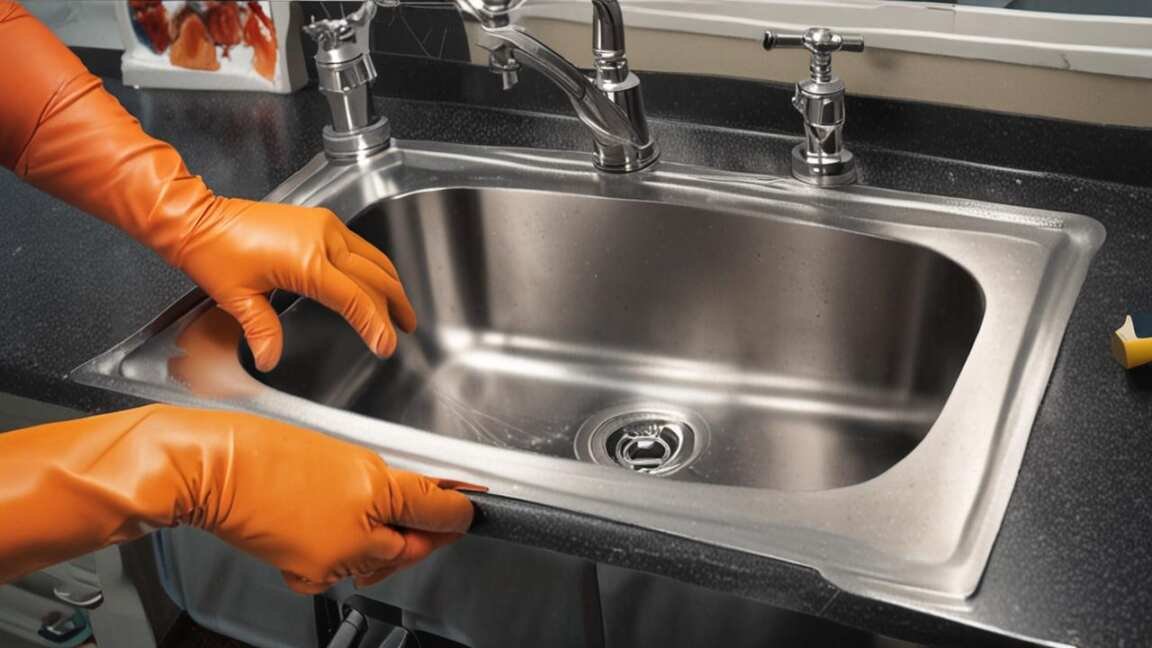
Peel the backing off the first section of pad and position it carefully over the cleaned sink underside. Start from one edge and gently press the pad into place, working outward to push out air bubbles. The adhesive forms a strong bond within 24 hours.
For best results, apply the pad in a staggered pattern if using multiple pieces. Avoid stretching the rubber, as this can thin it and reduce effectiveness. The Sound and Vibration Research Institute notes that proper application without wrinkles optimizes vibration transfer.
- Align the pad with the sink edge before pressing down
- Apply firm pressure with your hand or a roller from center to edges
- Use a heat gun on low setting to soften the adhesive in cool weather
- Ensure all corners and curves are fully contacted
- Repeat for remaining sections, overlapping seams by 1 inch
- Press down along edges and seams with a wooden block for extra adhesion
| Sink Type | Pad Size Needed | Installation Time | Noise Reduction |
|---|---|---|---|
| Single bowl (22 x 25 inch) | 2-3 square feet | 15-20 minutes | 10-15 dB |
| Double bowl (33 x 22 inch) | 4-5 square feet | 25-30 minutes | 12-18 dB |
| Farmhouse (30 x 18 inch) | 3-4 square feet | 20-25 minutes | 15-20 dB |
This quick reference helps you estimate materials and effort before you start the project, ensuring you have everything on hand.
Step 4: Press and Secure the Pads
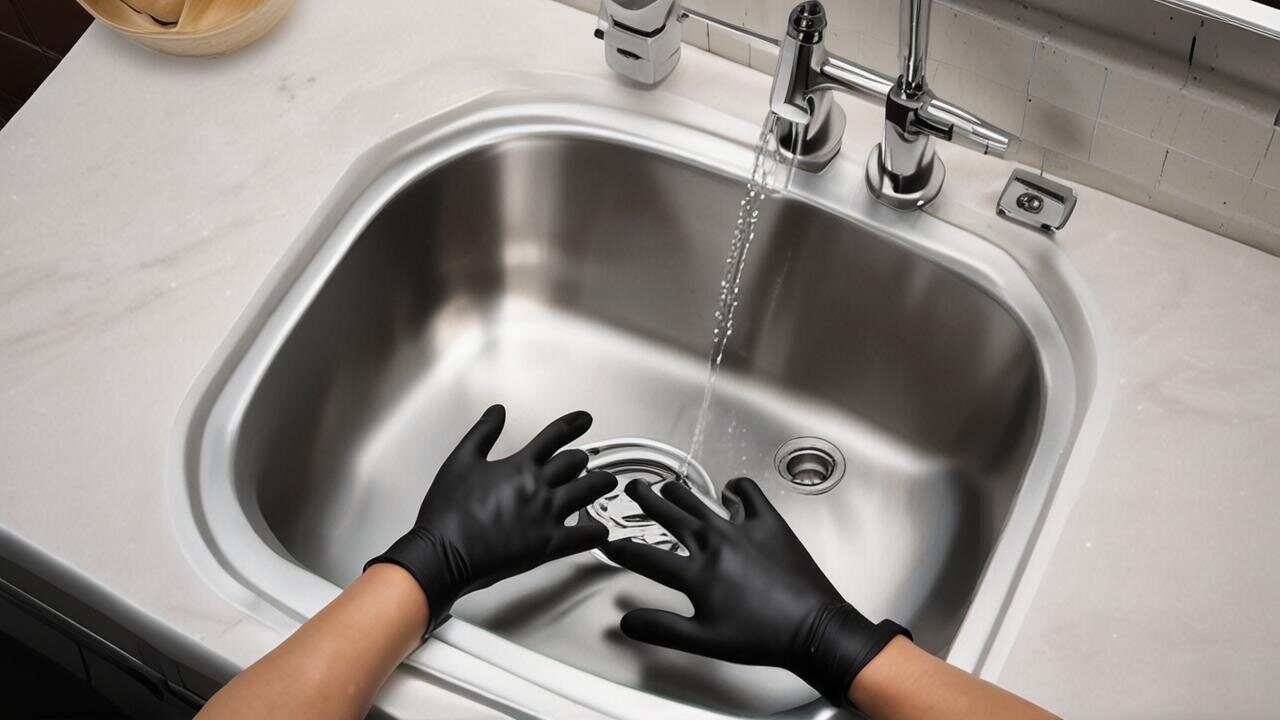
After applying the pads, use a seam roller or a clean, hard object like a wooden towel to press them firmly across the entire surface. Focus on edges, corners, and any seams between sections. This ensures full contact and removes trapped air.
Let the adhesive cure for at least 24 hours before using the sink normally. During this time, avoid running water or placing heavy items in the sink. The adhesive reaches maximum bond strength after 72 hours, according to the Rubber Manufacturers Association.
- Use a roller or cloth-covered block to press the entire pad surface
- Pay extra attention to overlapping seams to prevent lifting
- Check for any bubbles; if found, puncture with a pin and press flat
- Re-press edges after 1 hour to ensure initial bond
- Wait 24 hours before reinstalling sink accessories or using the sink
- Test noise reduction by dropping a utensil into the sink after curing
Warning: Do not use a spray adhesive or glue to supplement the pad’s backing. This can create uneven thickness and reduce vibration absorption, as well as complicate future removal.
Common Mistakes to Avoid
Even with simple installation, a few common errors can limit the effectiveness of your heavy rubber deadening pads. Avoiding these pitfalls ensures you get the quiet sink you expect.
The most frequent mistake is applying pads to a dirty or damp surface, leading to weak adhesion and eventual peeling. Another is using pads that are too thin for your sink gauge, which fails to stop deep vibrations.
- Skipping surface cleaning: Dirt or oil prevents adhesive bonding, causing pads to fall off within weeks
- Choosing thin pads: 2 mm pads work for thick gauge sinks, but thin 18-20 gauge sinks need 4-6 mm pads
- Leaving gaps: Uncovered areas allow sound to escape, reducing overall noise reduction by up to 40%
- Forcing cold adhesive: Applying pads in temperatures below 50°F reduces stickiness; use a heat gun first
- Overstretching the rubber: Stretching thins the material and decreases its vibration-absorbing properties
- Cutting too small: Undersized pads miss edges where vibrations are strongest
- Not curing long enough: Using the sink immediately can shift pads before adhesive sets
The Home Improvement Research Institute indicates that proper installation extends pad lifespan by over 50%, keeping your sink quiet for years.
Benefits Beyond Echo Reduction
While the primary function of heavy rubber deadening pads is noise control, they offer several additional advantages that improve your sink’s performance and longevity. These benefits make them a worthwhile investment for any kitchen or bathroom.
First, the rubber layer acts as a thermal insulator, reducing heat loss from hot water in the sink. This can lower energy costs slightly by keeping water warmer longer. Second, the pad cushions impact, reducing the risk of dents or scratches on the sink surface from dropped items.
- Thermal insulation: Reduces heat transfer from hot water to countertop, protecting adhesives and materials
- Impact protection: Absorbs shock from dropped dishes and utensils, preventing dents
- Condensation control: Rubber layer prevents cold sink surfaces from sweating, reducing moisture under cabinets
- Vibration damping: Minimizes transfer of vibration to garbage disposals and drain pipes
- Soundproofing adjacent spaces: Lowers noise transmitted to rooms below or beside the sink
- Easy removal: Quality pads peel off without residue when replacing sinks or pads
The Plumbing Manufacturers International reports that sinks with deadening pads experience 30% less structural noise transfer through cabinet frames, enhancing overall home comfort.
Tip: If condensation is a concern in humid climates, pair the deadening pad with a silicone seal along the sink rim to prevent moisture from reaching the underside.
Frequently Asked Questions
Do heavy rubber deadening pads work on all sink materials?
Yes, they work best on metal sinks like stainless steel, copper, and cast iron. For ceramic or composite sinks, the benefit is less because these materials already have low resonance. However, the pad can still reduce impact noise from dishes.
How long do rubber deadening pads last?
With proper installation, high-quality butyl rubber pads last 5 to 10 years. Factors like humidity, temperature extremes, and physical damage can shorten lifespan. Inspect pads annually for peeling or hardening and replace if needed.
Can I install deadening pads on an already installed sink?
Yes, as long as you have access to the underside of the sink. Remove any existing insulation or debris first. The process is the same as new installation, though you may need to work around pipes and garbage disposals.
Do these pads prevent noise from garbage disposals?
They reduce vibration transfer from garbage disposals to the sink basin, but they do not quiet the disposal motor itself. For full noise control, combine deadening pads with a sound-absorbing jacket for the disposal unit.
Will the adhesive damage my sink if I remove the pads?
Quality pads use removable adhesive that peels off without residue on clean metal. On painted or coated sinks, test a small area first. Use a heat gun to soften adhesive at removal for easier cleanup.
Final Thoughts
Heavy rubber deadening pads offer a simple, affordable way to turn a noisy metallic sink into a quiet, solid surface. By absorbing vibrations and adding mass, they eliminate echoes from dishes, water, and daily use. With minimal tools and less than 30 minutes of work, you can enjoy a quieter kitchen or bathroom for years.
Invest in the right pad thickness and install it correctly to maximize noise reduction and durability.

Leave a Reply