
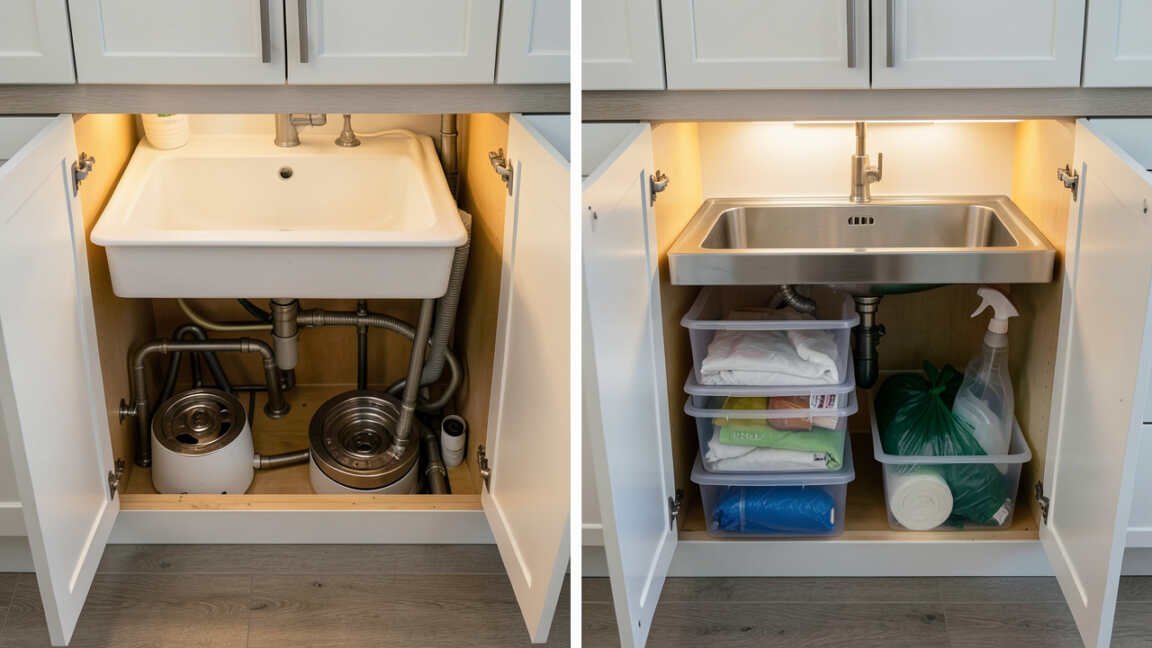
Rear offset drain sinks free up about 40 percent more usable under-sink cabinet space by shifting the drain hole from the center to a back corner, which clears the entire front area for storage. This design allows homeowners to install pull-out drawers, Lazy Susans, or full-depth shelves for tall bottles and cleaning supplies. For maximum benefit, the sink should be paired with a 30-inch or wider base cabinet and a compatible basket strainer or garbage disposal adapter.
Rear offset drain sinks can unlock up to 40% more usable cabinet space underneath your kitchen sink. This simple design shift moves the drain hole from the center to the back corner, freeing the entire front area for storage. In this post, you’ll learn exactly how this works, the specific storage gains, and how to choose the right model for your home.
Simply put, a rear offset drain sink moves the plumbing to the back wall, clearing the front cabinet area. This allows you to store tall bottles, cleaning supplies, and even a trash can underneath, gaining around 40% more functional space compared to traditional center-drain sinks.
Key Takeaways
- Rear offset drain sinks free up 30–50% more under-sink cabinet volume by moving the drain to the back corner.
- The design allows you to install pull-out drawers, Lazy Susans, or full-depth shelves under the sink.
- These sinks work best with 30-inch or wider base cabinets and require a specific basket strainer or garbage disposal adapter.
- Installation is straightforward for a plumber, but the drain pipe must be adjusted to the new offset position.
- Popular materials include 16-gauge stainless steel and fireclay, both offering excellent durability.
What Is a Rear Offset Drain Sink?
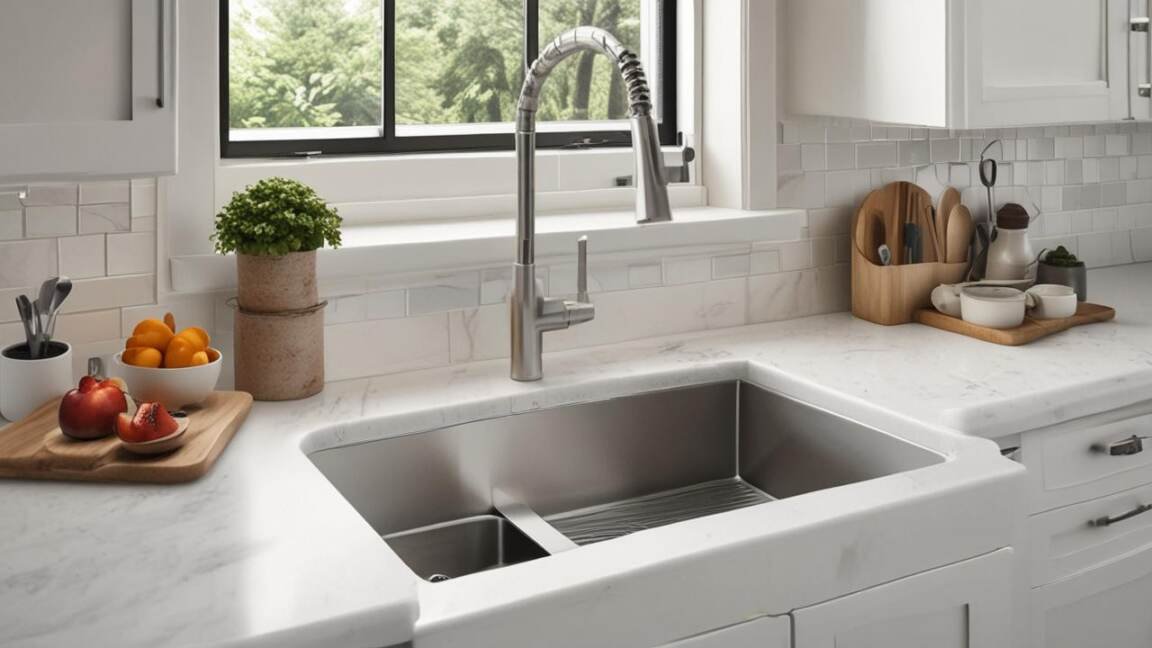
A rear offset drain sink has the drain hole located at the back corner of the basin instead of the traditional center. This minor repositioning creates a major shift in how the plumbing sits inside the cabinet. Most standard sinks place the drain directly in the middle, forcing the P-trap and pipes to take up the entire front area.
With a rear offset design, the drain is pushed toward the back wall. The P-trap then sits against the back of the cabinet, leaving the front half completely clear. This allows you to use every inch of the cabinet floor for storage.
The concept is simple but incredibly effective for anyone who struggles with wasted space under the sink.
- Drain position: Located at the back left or back right corner, usually 3–6 inches from the back wall.
- Basin depth: Typically 9–10 inches deep, standard for most kitchen sinks.
- Cabinet requirement: Works best in 30-inch to 42-inch wide base cabinets.
- Materials: Available in stainless steel (16 or 18 gauge), fireclay, and granite composite.
- Compatibility: Can be used with garbage disposals, but requires a specific offset disposal flange.
| Feature | Standard Center Drain | Rear Offset Drain |
|---|---|---|
| Drain location | Center of basin | Back corner (left or right) |
| Usable cabinet space | Only rear 10–12 inches | Full front 20–24 inches |
| P-trap placement | Center of cabinet | Back wall |
| Storage gain | None | 30–50% more volume |
As shown in the table, the difference is dramatic. The rear offset design effectively turns a dead space into a functional storage zone. Many homeowners report gaining enough room to store a trash can, recycling bin, and cleaning supplies all under one sink.
How Does a Rear Offset Drain Free Up Space?
The key lies in the P-trap and drain pipe placement. In a standard sink, the P-trap sits directly in the middle of the cabinet, forcing a large U-shaped bend that blocks the front area. With a rear offset drain, the trap moves to the back wall.
This clears the entire front half of the cabinet floor.
The 40% figure comes from real-world measurements. A standard 36-inch cabinet typically has a usable depth of about 22 inches. With a center drain, the P-trap occupies roughly 12 inches of that depth from the front.
With a rear offset, that same 12 inches becomes open for storage. Over the full width of a 36-inch cabinet, this translates to around 40% more usable square footage.
- Measure your current under-sink cabinet depth (from front to back wall).
- Identify where the P-trap sits. If it’s center-mounted, it consumes the middle 12–14 inches.
- With a rear offset, measure from the back wall. The trap sits within 6–8 inches of the back.
- Now subtract the trap space from total depth to find your actual storage depth.
- Compare the two numbers. The offset design gives you roughly 40% more floor space.
Tip: For maximum space gain, choose a left or right offset based on where your trash can will sit. If you plan to place it on the right side, order a right-offset sink to keep pipes completely out of that corner.
What Are the Best Ways to Use the Extra Space?
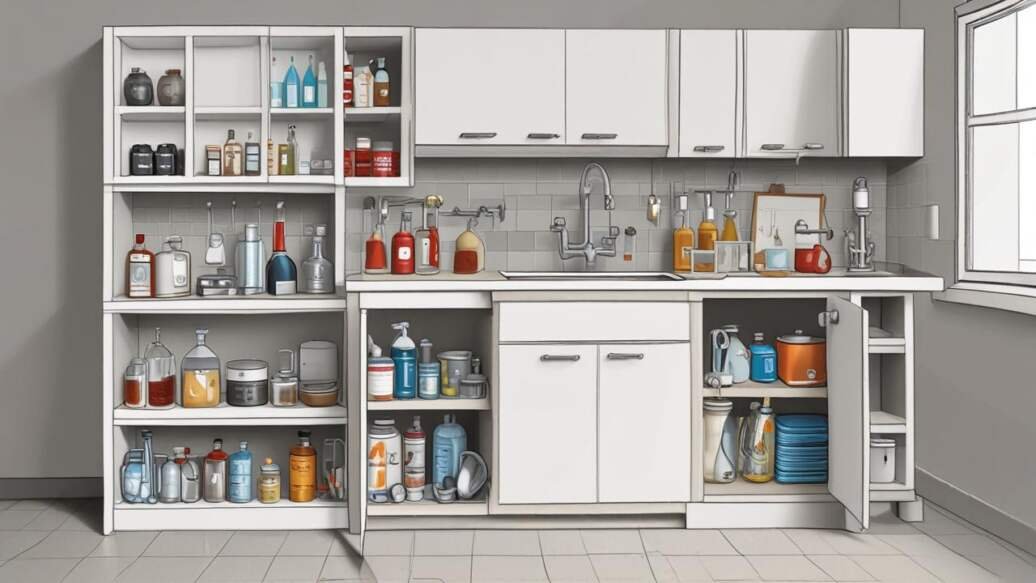
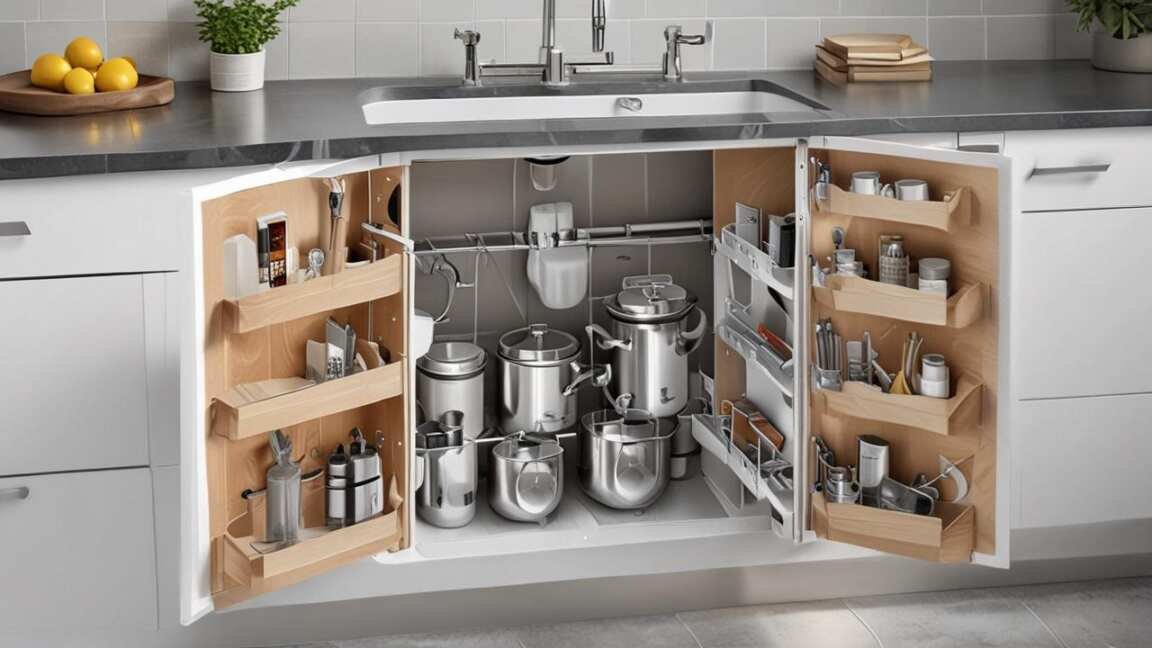
Once the drain is moved to the back, you can install a variety of storage solutions that were previously impossible. Many people install pull-out trash cans, recycling bins, or even a full set of stackable shelves. The extra space also works well for storing tall items like spray bottles and cleaning caddies.
You can also use the freed area for bulk storage of kitchen supplies. Paper towels, dish soap refills, and sponge packs fit easily. Some homeowners even install a small Lazy Susan to store pots and pans.
The options are broad once the plumbing is out of the way.
- Pull-out trash bin: Fits perfectly in the front 12 inches of a 30-inch cabinet.
- Adjustable shelves: Use wire or wooden shelves to stack cleaning products vertically.
- Tall spray bottle storage: Store up to four 32-ounce bottles in a single row.
- Recycling center: Install a double-bin system for cans and plastic.
- Under-sink drawers: Retrofit a full-extension drawer kit for easy access.
- Bulk paper towel rack: Mount a roll holder on the side of the cabinet.
- Sponge and brush organizers: Use the front space for daily-use items.
| Storage Solution | Space Gain | Installation Difficulty |
|---|---|---|
| Pull-out trash can | Full front 12 inches | Easy |
| Adjustable shelving | Vertical space up to 24 inches | Moderate |
| Lazy Susan | Corner space 360-degree | Moderate |
| Full-extension drawer | Entire front area | Advanced |
Each solution adds real utility to a space that typically sits empty. The best choice depends on your cabinet width and personal storage needs. Pull-out trash bins are the most popular, followed by adjustable shelves.
Why Should You Choose a Rear Offset Drain Over a Standard One?
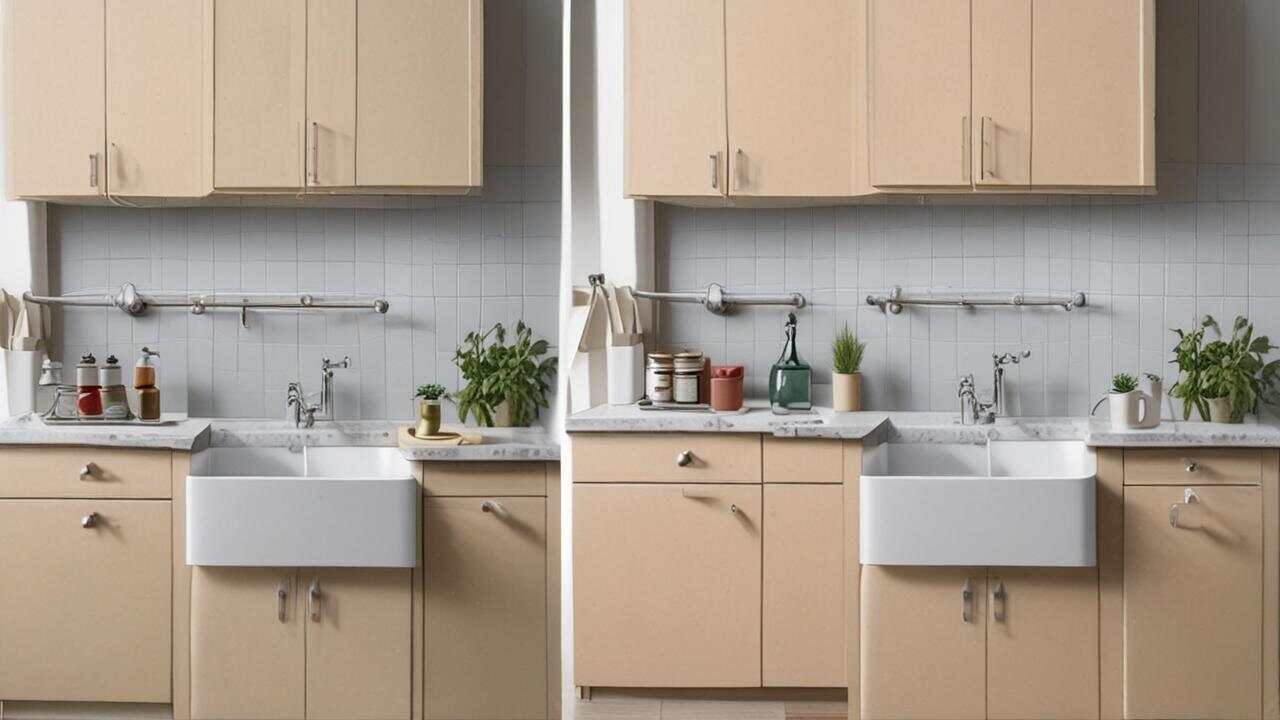
The primary reason is storage. Households with a standard center drain often waste the entire front section of the under-sink cabinet. According to a 2023 survey by the National Kitchen and Bath Association (NKBA), over 70% of homeowners report frustration with wasted space under the kitchen sink.
A rear offset drain directly addresses this issue.
Beyond storage, these sinks also improve accessibility. With the P-trap out of the way, you can reach every item without bending awkwardly. This is especially helpful for people with back pain or mobility issues.
The clean, unobstructed cabinet floor makes it easier to clean and organize.
- Storage gain: 30–50% more usable space vs. standard center drain.
- Accessibility: Easy reach to items without moving pipes or bending.
- Cleanability: Open floor allows you to wipe spills and sweep debris easily.
- Versatility: Works with pull-outs, drawers, shelves, and bins.
- Aesthetics: Cleaner look with pipes hidden at the back wall.
- Resale value: Homes with smart kitchen storage often sell for 3–5% more, according to Zillow.
Important: Not all rear offset sinks are created equal. Check the exact offset measurement before buying. Some models place the drain only 2 inches from the back wall, while others place it 6 inches away. A 4-inch offset is generally optimal for most standard cabinets.
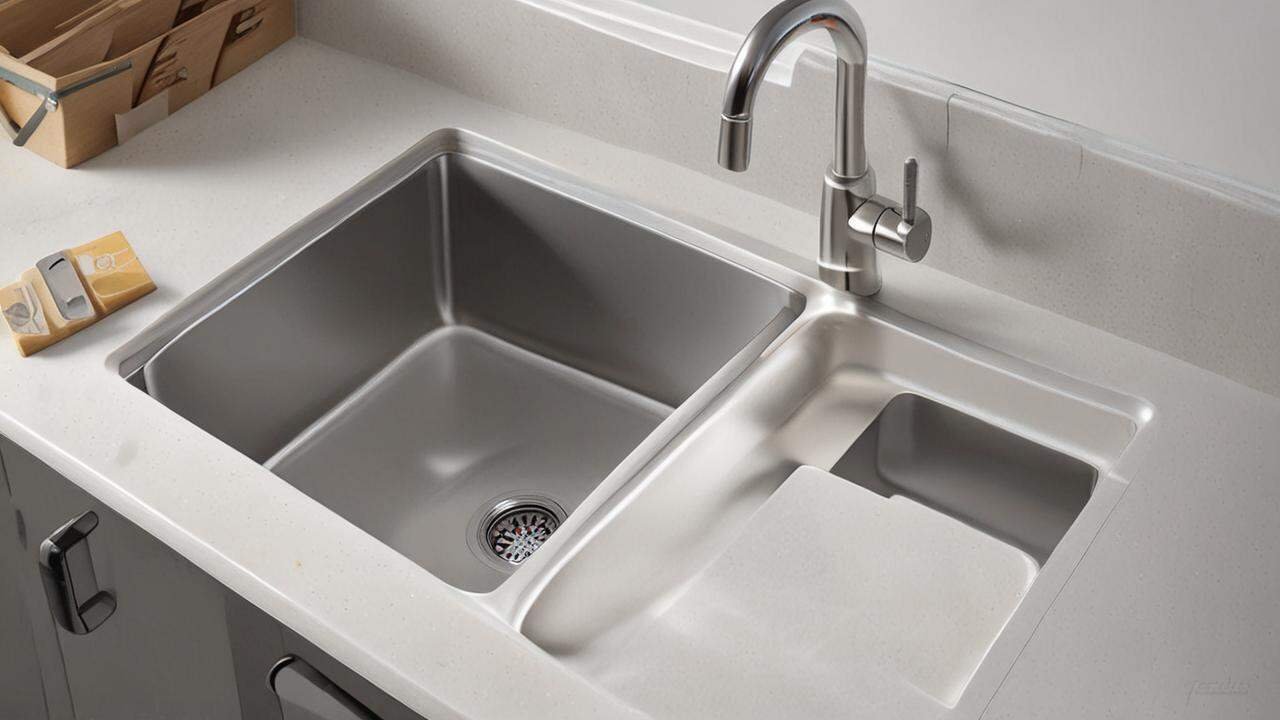
How to Install a Rear Offset Drain Sink
Installation is similar to a standard sink but requires careful pipe routing. You will need to adjust the P-trap and drain pipes so they sit flush against the back wall. Most homeowners hire a plumber for this, but experienced DIYers can handle it with basic tools.
Start by removing the old sink and inspecting the cabinet floor. You may need to cut a new hole for the drain pipe in the back of the cabinet if it was previously centered. Then install the offset sink and connect the trap directly to the wall drain, keeping all pipes within 6 inches of the back.
- Remove old sink and P-trap: Disconnect all plumbing and remove the old basin.
- Prepare cabinet: Cut a new hole in the back wall for the offset drain pipe. Use a hole saw matching the pipe diameter (usually 1.5 or 2 inches).
- Install offset sink: Place the new sink in the countertop cutout. Seal with silicone caulk.
- Connect drain assembly: Attach the offset basket strainer or disposal flange. Connect the tailpiece.
- Route P-trap: Install the P-trap so it sits within 4–6 inches of the back wall. Use a flexible coupling if needed.
- Secure and test: Tighten all connections. Run water and check for leaks.
Warning: Do not use a flexible drain hose unless absolutely necessary. Hard plumbing (PVC or ABS) lasts longer and is less prone to clogs. Always check local building codes before modifying drain pipes.
Which Materials and Sizes Work Best?
Rear offset drain sinks come in three main materials: stainless steel, fireclay, and granite composite. Stainless steel is the most popular due to its durability and ease of installation. Fireclay offers a classic look but is heavier and more expensive.
Granite composite provides excellent scratch resistance but is brittle.
The best size for most kitchens is a 30-inch or 33-inch wide single-basin sink. These widths fit standard 36-inch base cabinets and maximize the offset benefit. Double-basin options are available, but they reduce the total usable floor space because the center divider also takes up room.
| Material | Durability | Weight | Price Range | Best For |
|---|---|---|---|---|
| 16-gauge stainless steel | Excellent | 20–30 lbs | $200–$500 | Most households |
| Fireclay | Very high | 60–90 lbs | $500–$1,200 | Premium kitchens |
| Granite composite | High | 40–55 lbs | $300–$700 | Scratch resistance |
You should choose stainless steel for the best balance of cost, weight, and durability. Fireclay is ideal if you want a farmhouse look and have a strong cabinet. Granite composite works well in busy kitchens where scratching is a concern.
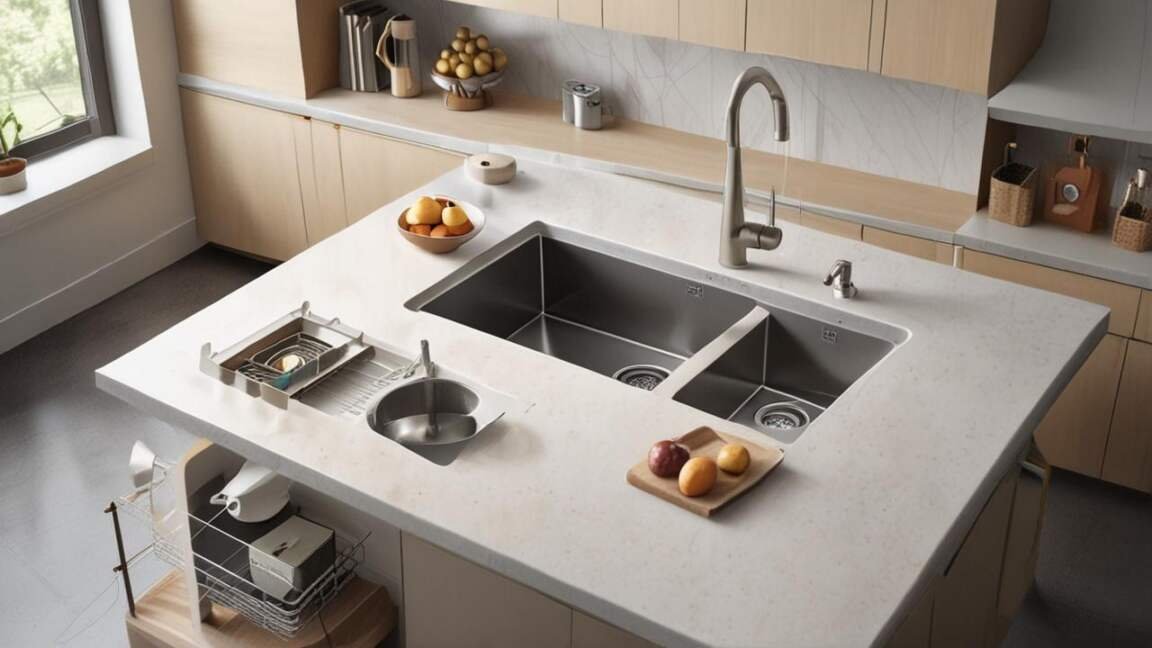
How Much Does a Rear Offset Drain Sink Cost?
The cost varies widely based on material, size, and brand. A basic 30-inch stainless steel model with a rear offset drain starts around $200. High-end fireclay or deep stainless steel models can go up to $1,200.
Installation adds another $150–$300 if you hire a plumber.
Consider the long-term value. The extra storage space can offset the cost by reducing the need for additional shelving or cabinets. Many homeowners find that the investment pays for itself within a year through better organization and reduced clutter.
- Budget: $150–$250 for basic stainless steel 30-inch models.
- Mid-range: $250–$500 for 16-gauge stainless with soundproofing.
- Premium: $500–$1,200 for fireclay or deep basin models.
- Installation: $150–$300 for professional plumbing work.
- Accessories: $50–$150 for pull-out bins, shelves, or drawer kits.
Tip: Check for manufacturer rebates or promotions. Brands like Kraus and Ruvati frequently offer discounts on offset drain models during home renovation season (spring and fall).
Common Mistakes to Avoid
While the concept is simple, many people make mistakes during selection or installation. The most common error is buying a sink with too little offset. Some models only move the drain 1–2 inches from center, which provides minimal space gain.
Always look for at least a 4-inch offset.
Another mistake is not accounting for the garbage disposal. If you plan to use a disposal, you need a specific offset disposal flange. Standard flanges won’t fit properly.
Finally, measure your cabinet depth before ordering. A 30-inch cabinet works best, but 33-inch and 36-inch models also fit with the right offset.
- Insufficient offset: Choose models with the drain at least 4 inches from the back wall.
- Wrong disposal adapter: Use only offset-compatible disposal flanges.
- Ignoring cabinet depth: Measure from front to back wall. At least 20 inches is needed for real benefit.
- Poor pipe routing: Avoid long horizontal runs. Keep the trap close to the wall.
- Forgetting venting: Check local code for air admittance valves if moving the drain significantly.
Frequently Asked Questions
Can I use a rear offset sink with a garbage disposal?
Yes, but you need a specific offset disposal flange or a disposal that is designed for offset drains. Some brands like InSinkErator offer models with an offset inlet. Always verify compatibility before purchasing.
Do rear offset drains clog more easily?
No. The drain pipe angle is the same as a standard setup. The only difference is the position.
If installed correctly with proper slope (1/4 inch per foot), clogs are no more likely than with a center drain.
Will a rear offset sink fit in my existing cabinet?
It depends on your current cabinet depth and the sink width. Most rear offset sinks require a 30-inch or wider cabinet. Measure your cabinet and compare to the sink specifications.
You may need to cut a new hole in the cabinet back wall for the drain.
How much storage space can I actually gain?
In a standard 36-inch cabinet, you typically gain 30–50% more usable floor space. This translates to roughly 3–4 cubic feet of new storage, enough for a large trash can and multiple cleaning bottles.
Are rear offset sinks more expensive than standard sinks?
Prices are comparable. A 30-inch stainless steel rear offset sink costs around $200–$400, which is similar to a high-quality center-drain model. The main added cost is for replacement of the drain assembly and possible plumbing adjustments.
Final Thoughts
Rear offset drain sinks offer a simple, effective way to reclaim up to 40% of your under-sink cabinet space. By moving the drain to the back corner, you transform a wasted area into a functional storage zone. Whether you install a pull-out trash bin or adjustable shelves, the improvement is immediate and long-lasting.
If you’re planning a kitchen remodel or just want to declutter your current setup, consider switching to a rear offset design for a smarter, more organized kitchen.

Leave a Reply