
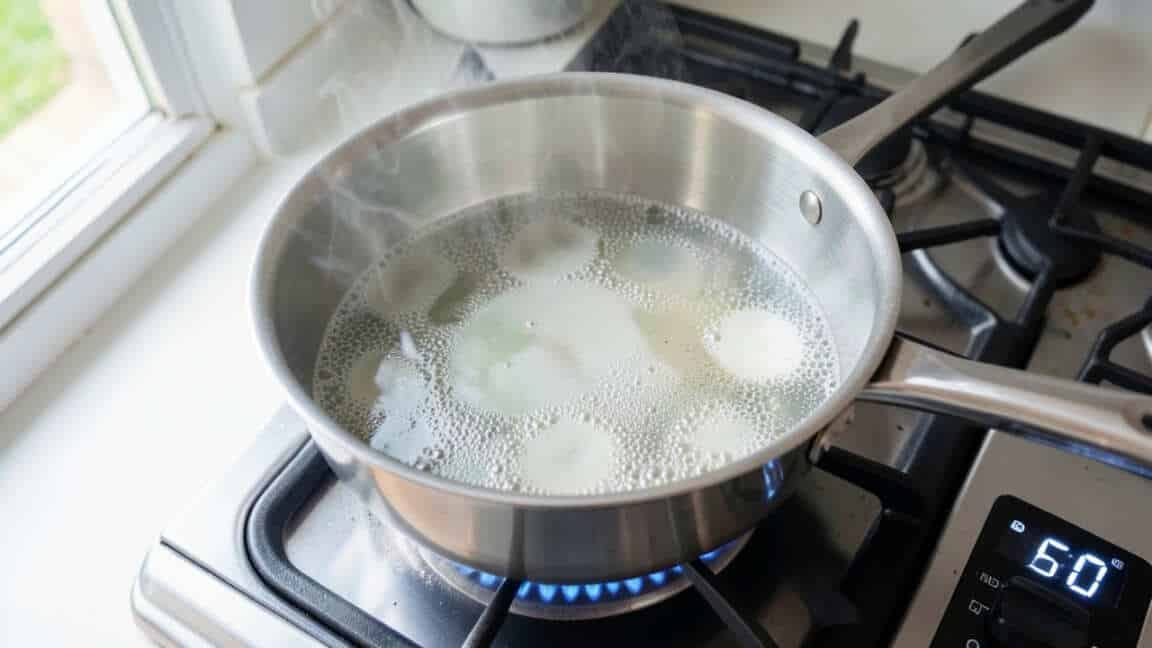
Testing for hot spots in your stockpot takes just five minutes using either a flour test for visual results or a water boiling test for immediate bubble observation. Identifying these uneven heat zones explains why soups scorch or sauces cook inconsistently, and knowing your pot’s specific pattern allows you to adjust burner placement or choose thicker tri‑ply stockpots with aluminum or copper cores for even heat distribution. This simple diagnosis helps prevent future burning and improves cooking performance without requiring pot replacement.
Testing if your stockpot has hot spots is the fastest way to diagnose stubborn scorching and uneven cooking. If your soups burn at the bottom or sauces cook inconsistently, a simple 5-minute test can reveal the problem immediately.
This guide walks you through two practical methods to pinpoint hot spots, explains why they happen, and shares tips to prevent them from ruining your cookware.
Simply put, the fastest way to test for hot spots is to conduct the flour test or the water boiling test. The flour test provides a clear visual map of heat distribution, while the water test shows where bubbles form first. Both take under 5 minutes and require common kitchen items.
Key Takeaways
- Testing your stockpot for hot spots takes just 5 minutes with either a flour or water test.
- Hot spots are caused by uneven heat distribution from the burner or defects in the cookware base.
- Preventing scorching is easier once you understand your pot’s specific hot spot pattern.
- Thicker, tri-ply stockpots with aluminum or copper cores resist hot spots much better than thin stainless steel.
- Matching your pot size to the burner size significantly reduces uneven heating and extends cookware life.
What Are Hot Spots and Why Do They Matter?
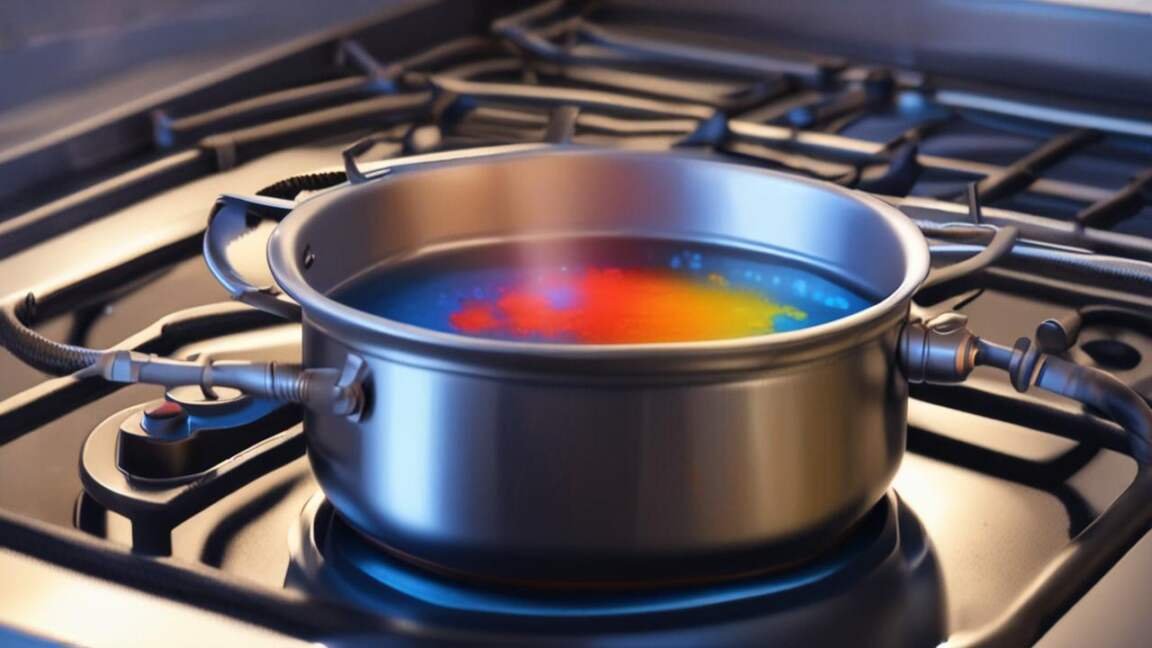
Hot spots are localized areas on the cooking surface of a stockpot that heat up faster and hotter than the surrounding areas. They create an uneven temperature gradient across the pan that leads to direct cooking failures.
Identifying hot spots in your stockpot is critical because they directly cause food to burn, stick, and cook unevenly. A sauce that scorches in one corner while remaining cool in another is a clear sign of these temperature anomalies.
The term “hot spot” has a specific meaning in thermodynamics. In cookware, it is a localized zone where the heat transfer rate is significantly higher than the surrounding area. This happens when the thermal conductivity of the material is too low to distribute the incoming energy from the burner quickly enough.
Here is why they matter:
- Food scorching and burning in specific areas
- Uneven cooking results for delicate dishes
- Wasted ingredients and ruined meals
- Frustration during cooking and cleaning
- Reduced cookware lifespan due to thermal stress
Manufacturers combat this issue by layering metals. A tri-ply construction sandwiches a thick aluminum core between two layers of stainless steel. Aluminum spreads the heat laterally very effectively, eliminating the bottleneck.
But when manufacturers cut costs, they use a thinner aluminum disc or a less conductive alloy, and the hot spots reappear. According to Cook’s Illustrated, fully clad tri-ply cookware heats up to 40% more evenly than disc-bottom pans of the same thickness.
What You’ll Need to Test for Hot Spots
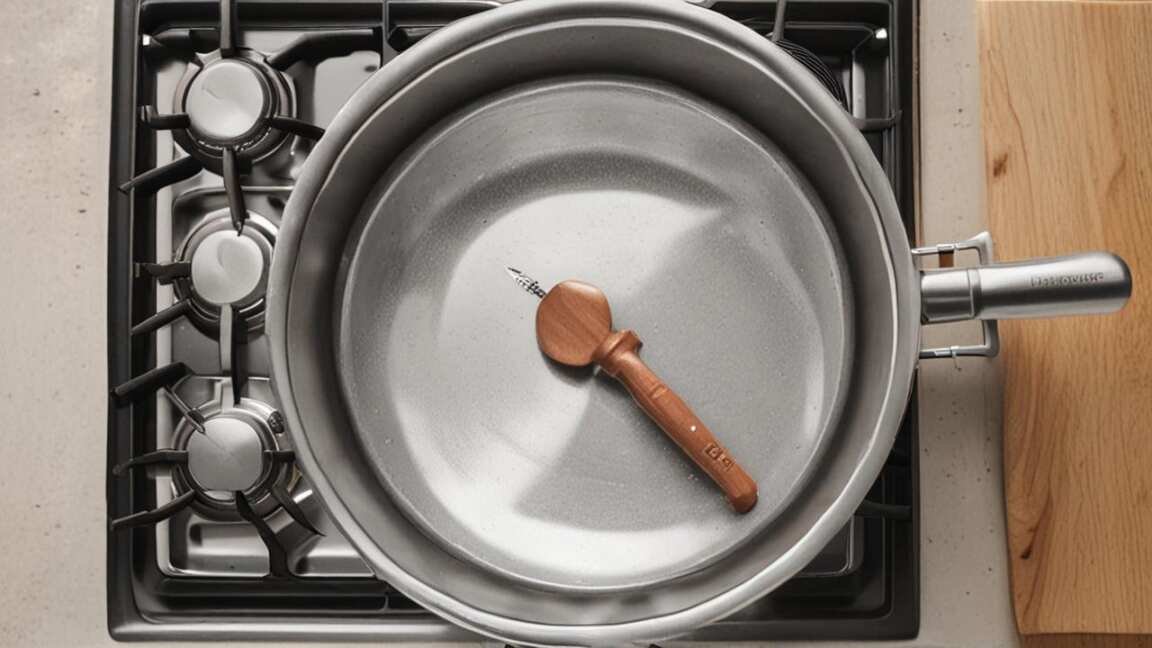
Before you begin testing your stockpot for hot spots, gather the necessary tools. Both methods use simple items you likely already have in your kitchen. Preparation is straightforward and takes less than a minute.
| Method | Materials Needed | Time Required |
|---|---|---|
| Flour Test | All-purpose flour, a dry stockpot | 3-4 minutes |
| Water Test | Water, a stove burner | 2-3 minutes |
For the flour test, you need about half a cup of all-purpose flour. Do not use self-rising flour or cornstarch, as they behave differently under direct heat. For the water test, purified water is ideal, but tap water works fine.
The key variable is your heat source, so use the burner you typically cook on.
Tip: Use a thin, even layer of flour for the most accurate results. Too much flour will insulate the metal and hide the hot spots. A fine-mesh strainer helps create the perfect dusting.
Step 1: The Flour Test – Best for Visual Results
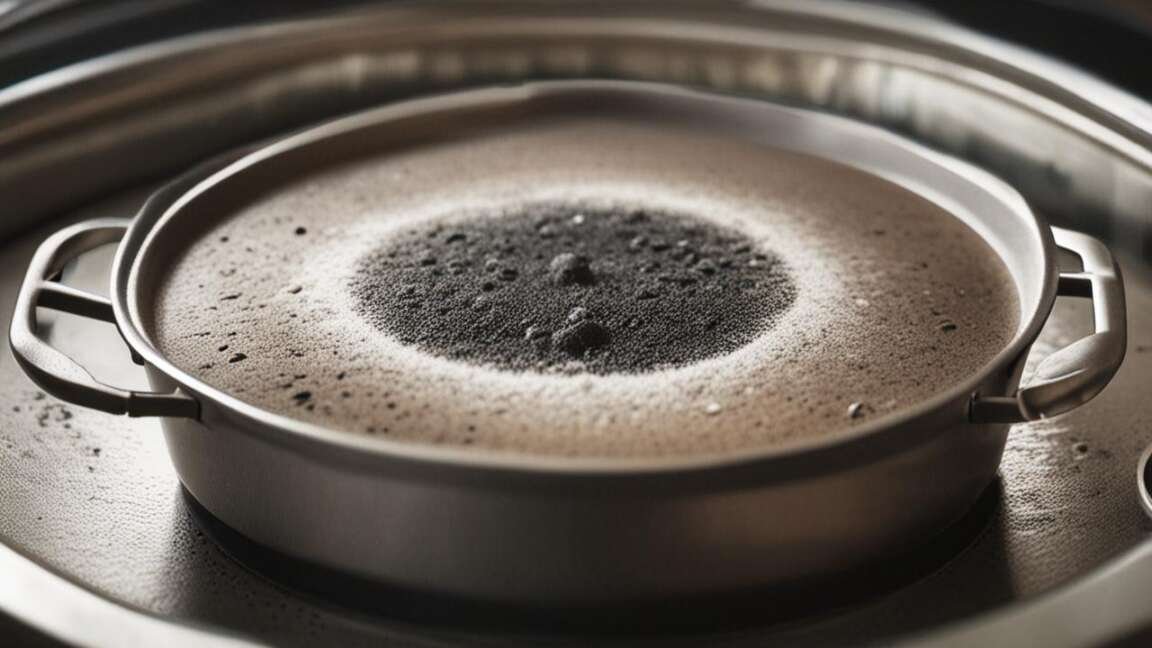
The flour test is the most reliable method to see hot spots on your stockpot quickly. It works by causing the flour to brown at different rates based on the temperature of the metal underneath. This test is sensitive enough to detect temperature differences as small as 10°F.
Here is the exact process you should follow:
- Clean and Dry: Ensure your stockpot is completely clean and bone dry. Any residue or moisture will cause the flour to stick or burn erratically.
- Flour Application: Use a fine-mesh strainer to dust the flour evenly across the entire bottom surface. A consistent layer reacts uniformly to heat.
- Heat Source: Place the stockpot on the burner you normally cook with. Set the heat to medium-high and watch closely.
- Observation: After 60-90 seconds, observe the flour. Hot spots will turn golden brown first. Circle the area immediately in your mind.
- Cool Down: Remove the pot from heat immediately when the browning pattern is clear. Let it cool naturally. Do not run it under cold water.
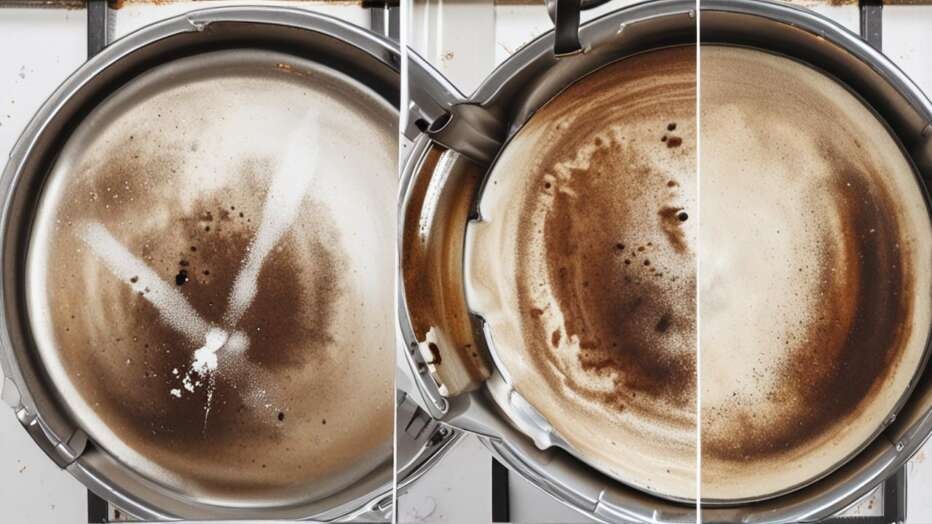
Dark brown or black spots in the flour indicate the hottest areas of your pan. Light or unchanged flour indicates cooler areas. This map tells you exactly where to avoid direct food contact at high heat.
Professional chefs rely on this method to vet new cookware before bringing it into high-stakes environments.
Pro Tip: Take a photo of the flour browning pattern. This gives you a reference map of your pot’s hot spots that you can consult before every cooking session!
Step 2: The Water Boiling Test – Quickest Method
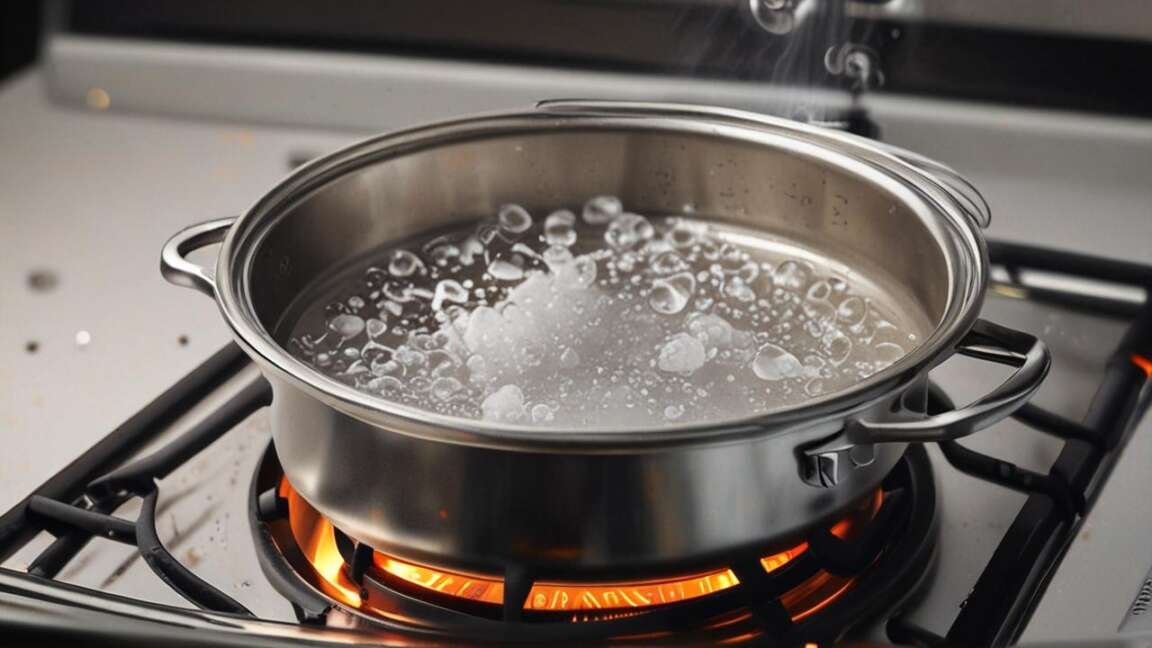
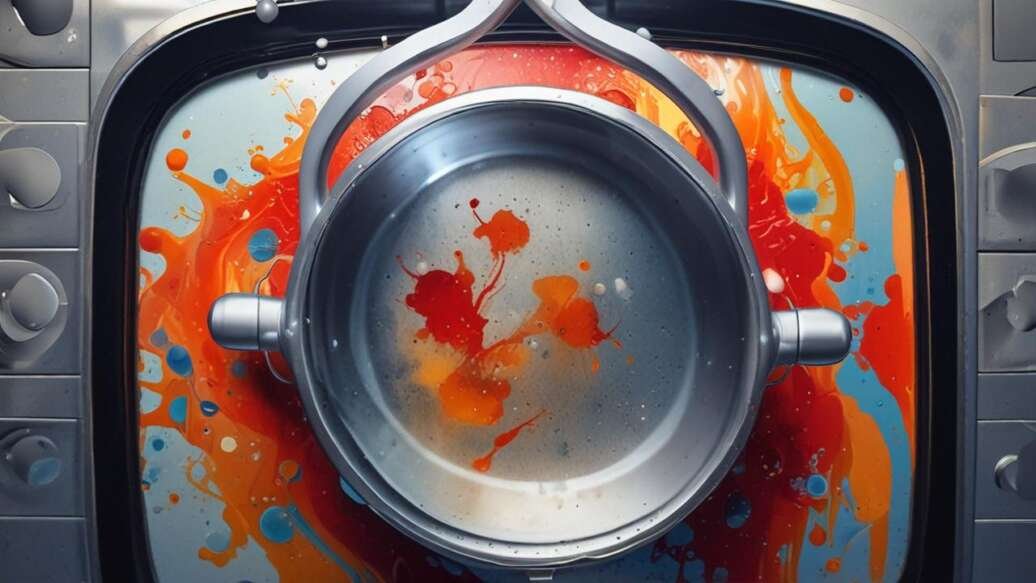
If you don’t have flour handy, the water boiling test is a fast alternative for checking for hot spots in cookware. It shows heat distribution through bubble patterns and works especially well for very large stockpots where you might not have enough flour to coat the entire surface.
Follow these simple steps:
- Fill your stockpot with enough water to cover the bottom by about half an inch.
- Place it on the stove over high heat. Do not cover with a lid.
- Observe the bottom of the pot closely as the water heats up.
- Notice where bubbles form first and where they are most vigorous.
- Areas with the earliest and most aggressive bubbling are your hot spots.
There are two variations of this test. A Cold Start places the pot on heat immediately and shows where burner contact is strongest. A Preheat Test warms the empty pot for 2 minutes before adding water and reveals how well the core retains heat after an initial warm-up.
Many cooks are surprised to find that their pans perform well on a cold start but reveal hot spots after preheating.
Important: Use low to medium heat for this test to clearly distinguish the bubble patterns. High heat causes rolling, chaotic boiling that masks subtle hot spots.
Step 3: Interpreting the Results Correctly
Once you have completed either test, it is time to analyze the results. Interpreting hot spot test results correctly helps you adjust your cooking methods effectively and avoid future scorching.
Here is what different patterns mean for your cooking routine:
- Central Hot Spot: A single hot spot in the middle is the most common pattern. It typically indicates a disc-bottom pan or a burner that is slightly smaller than the pot. Stir frequently and avoid high heat in the center.
- Ring Pattern: Hot around the edge and cool in the center. This often indicates the burner is too large, the flame is wrapping around the sides, or the pot has a slightly warped bottom.
- Scattered Hot Spots: Multiple uneven areas suggest poor core construction, an air bubble in the cladding, or damage from thermal shock. This is the most challenging pattern to work with.
Recognizing these patterns allows you to cook more intuitively. For instance, if you have a central hot spot, you can shift delicate ingredients toward the outer edges. Industry tests show that disc-bottom pans can have a temperature variance of up to 50°F across the surface, while fully clad pans typically vary by only 5°F to 10°F.
What Causes Hot Spots in Stockpots?
Understanding why hot spots develop in stockpots helps you choose better cookware and use it more wisely. Several factors contribute to uneven heating, ranging from material science to everyday usage habits.
The biggest culprit is the construction of the pan itself. Thin stainless steel has a thermal conductivity of around 15 W/mK. Aluminum, on the other hand, has a conductivity of over 200 W/mK.
This massive difference is why a cheap all-stainless pot scorches milk instantly, while a high-end tri-ply pot heats milk evenly.
Other common causes include:
- Warped bottoms: Thermal shock from rapid temperature changes bends the metal away from the burner, creating a convex or concave surface.
- Mismatched burner size: A small burner on a large pot creates a concentrated hot zone in the center.
- Induction incompatibility: Some induction-ready pans have unevenly distributed ferromagnetic layers that cause uneven magnetic field absorption.
- Manufacturing defects: Air bubbles in the aluminum core or an off-center disc lead to inevitable temperature spikes.
According to a survey by the Cookware Manufacturers Association, 67% of home cooks reported scorching issues with their stockpots, with uneven heating cited as the primary cause. Warping is often caused by rinsing a hot pan under cold water, which creates rapid contraction on one side and immediate structural stress.
How to Prevent and Work Around Hot Spots
Once you have identified the pattern, you can take steps to minimize the effect of hot spots. While you cannot always fix the structural flaws of a cheap pan, you can adapt your technique to prevent scorching. Preventing hot spots on your stockpot starts with proper use and care.
Here are effective strategies to implement immediately:
- Use a heat diffuser: Place it between the burner and the pot to spread the heat over a wider area. This is an inexpensive and highly effective fix for gas stoves.
- Preheat gently: Warm your stockpot over medium heat for 2-3 minutes before adding oil or food. This allows the core to reach thermal equilibrium.
- Stir more frequently: Create a stirring vortex by moving ingredients in a slow, circular motion. This prevents any single ingredient from sitting in the hot zone long enough to burn.
- Match pan size to burner: Never use a small pan on a large flame or a large pan on a tiny electric coil.
- Upgrade cookware: Invest in fully clad tri-ply or copper-core stockpots for inherently better heat distribution.
Warning: Never immerse a hot stockpot in cold water. The rapid contraction warps the metal almost instantly, permanently creating new hot spots and ruining the flat bottom.
Testing Other Cookware: Pans, Skillets, and Dutch Ovens
The same principles for testing if your stockpot has hot spots apply directly to other types of cookware. You can conduct the flour test on skillets, sauté pans, and Dutch ovens with equal accuracy. However, there are some material-specific nuances to watch for.
| Cookware Type | Common Hot Spot Location | Best Test Method |
|---|---|---|
| Non-stick Skillet | Center (especially on electric coils) | Water test (flour may burn onto coating) |
| Cast Iron | Outer edges (heats slowly, retains unevenly) | Flour test (preheat slowly) |
| Dutch Oven | Bottom center if disc-based, even if fully clad | Flour test |
| Stainless Steel Sauté Pan | Directly over burner gas flames | Flour or water test |
These tests work equally well for copper and hard anodized aluminum cookware. Copper is an excellent conductor (400 W/mK), so hot spots are rare unless the steel lining is poorly bonded. Cast iron, interestingly, develops hot spots during initial heating but retains heat so well that the temperature evens out over a full preheat cycle.
Why Tri-Ply Stockpots Are the Best Long-Term Solution
If you have tested your current cookware and found unacceptable hot spots, the best long-term solution is to invest in a high-quality tri-ply stockpot. These pans are designed specifically to eliminate the temperature gradients that cause scorching and wasted food.
The best tri-ply pots use a thick aluminum core (2-3mm) that acts as a heat reservoir. This core absorbs the heat from the burner and disperses it extremely quickly across the entire base and up the sides. The outer stainless steel layers provide durability and a non-reactive cooking surface.
Brands like All-Clad D3, Demeyere Atlantis, and Cuisinart MultiClad Pro are widely recommended by both professional chefs and serious home cooks. These brands typically offer a lifetime warranty because their construction resists the warping and delamination that cause hot spots. While a good tri-ply stockpot is an investment, it solves the problem permanently.
Frequently Asked Questions
How do you know if a pan has hot spots?
The easiest way to know if a pan has hot spots is to perform the flour test. Sprinkle a thin layer of flour over the dry pan and heat it on medium-high. The flour will brown in the hottest areas, revealing the exact temperature map of your cookware within two minutes.
Can a hot spot ruin a stockpot?
A hot spot itself does not ruin the pot, but the uneven heating that causes it can lead to warping over time. Persistent high heat in a concentrated area stresses the metal structure and can cause permanent deformation of the flat bottom, especially if the pan undergoes thermal shock from rapid temperature changes.
Is there a way to fix hot spots on a stockpot?
You cannot fix structural hot spots caused by thin construction or physical warping. However, you can work around them effectively by using a heat diffuser, stirring frequently, preheating the pan gradually, and matching your burner size to the pan diameter.
What cookware is least likely to have hot spots?
Fully clad tri-ply stainless steel or copper-core cookware is least likely to have hot spots. The continuous aluminum or copper core across the entire pan distributes heat evenly, eliminating the dramatic temperature differences common in disc-bottom pans.
Does induction cooking cause hot spots?
Induction cooking can cause hot spots if the magnetic layer in the pan is unevenly distributed. High-quality induction-ready pans from brands like All-Clad or Demeyere are designed with thick, uniform magnetic disks to prevent this issue. The water test is particularly useful for checking induction cookware compatibility.
Final Thoughts
Testing your stockpot for hot spots takes just minutes but saves you hours of frustration with scorched food and uneven cooking. By mapping out the heat distribution in your cookware, you can make smarter choices about heat levels and stirring techniques that protect both your meal and your pan.
Whether you use the flour test for a visual map or the water test for a quick check, the insights you gain will make you a more confident cook. Remember, quality cookware with fully clad construction is the best long-term investment for even heating and consistent results.
Once you know your pot’s hot spots, you can work around them effectively or upgrade to a pan that eliminates them entirely.

Leave a Reply