
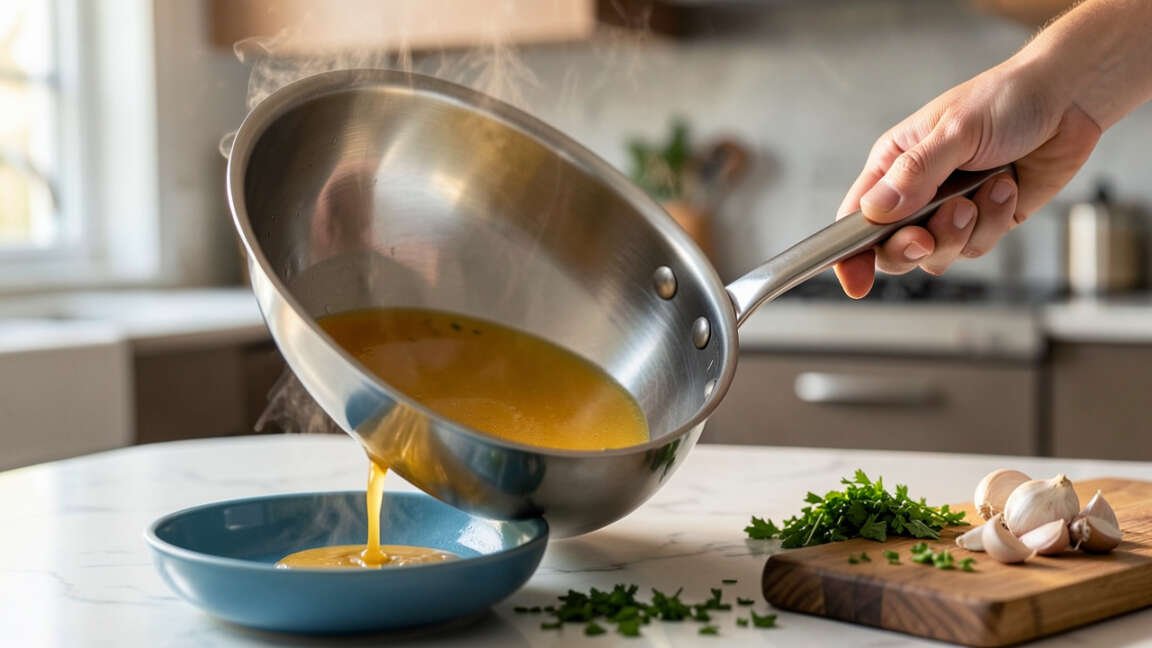
A helper handle on a sauté pan provides a stable second grip point near the front, enabling safer one-hand pouring by counterbalancing the pan’s weight and reducing the risk of spills and burns. Without this handle, tilting a full sauté pan with one hand becomes awkward and dangerous, often requiring two hands or increasing the chance of tipping hot liquids. The design is especially critical for sauté pans because their heavier and wider shape, compared to fry pans, makes balanced one-hand control impossible without a secondary handle.
A sauté pan can be heavy and hard to control when full. A helper handle gives you a second grip point for easier one-hand pouring.
Quick Verdict: A helper handle on a sauté pan makes one-hand pouring safer, more controlled, and less fatiguing. It counterbalances the weight of the pan and gives you a stable grip near the front, reducing the risk of spills and burns. Without it, tilting a full pan with one hand becomes awkward and dangerous.
Key Takeaways
- A helper handle is a second handle located at the front of a sauté pan that allows you to pour with one hand while keeping the pan stable.
- Without a helper handle, you must use two hands or risk tipping the pan when pouring hot liquids.
- The National Fire Protection Association reports that cooking equipment is the leading cause of home fires and injuries, with hot liquid spills as a major factor.
- Sauté pans are heavier and wider than fry pans, making a helper handle essential for safe one-hand operation.
- Most professional-grade cookware brands such as All-Clad and Calphalon include a helper handle on their larger sauté pans.
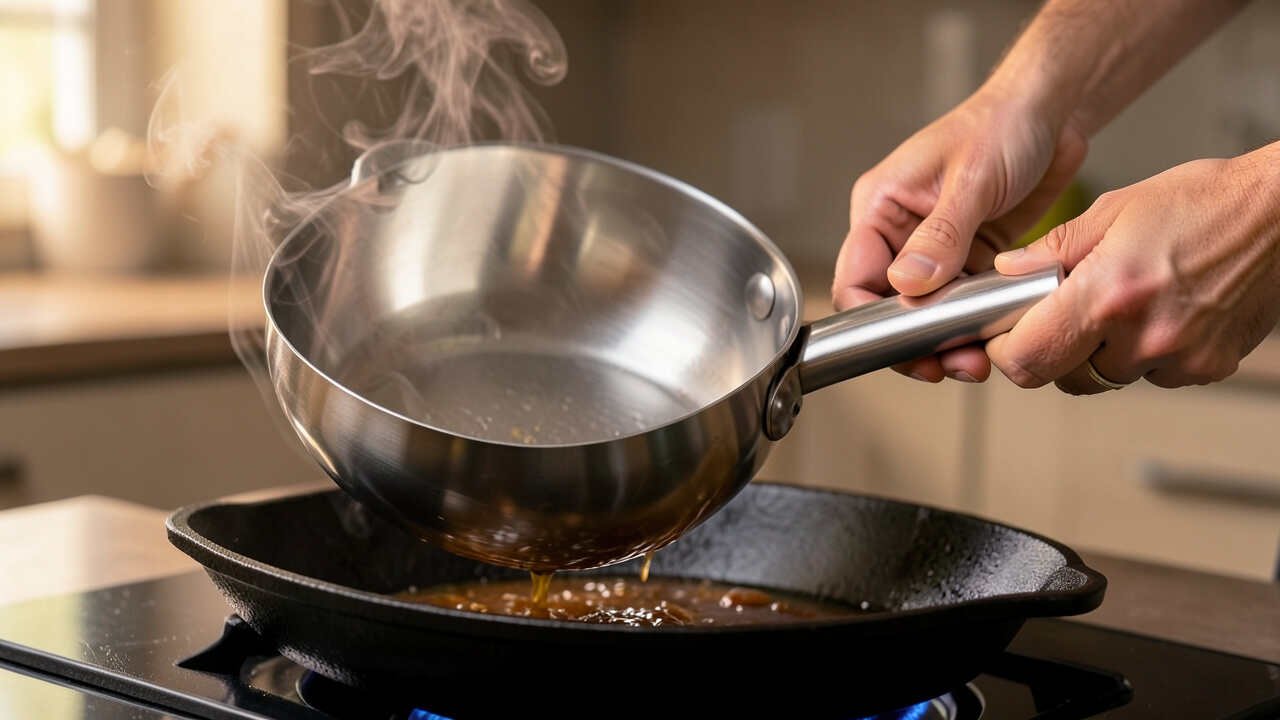
How a Helper Handle Improves One-Hand Pour Control
When you pour hot liquid from a sauté pan, the center of gravity shifts forward. Without a helper handle for one-hand pour, your only grip is the long main handle far behind the pan. This creates a long lever that makes the front heavy and wobbly.
A helper handle sits on the near side of the rim, directly above the weight. You hold the main handle in one hand and the helper handle with the other for two-hand control, but the helper handle also works as a counterbalance when you pour with one hand. You grip the helper handle with your thumb and fingers while the main handle rests in your palm. This shortens the lever and gives you precise tilt control.
According to the Consumer Product Safety Commission, many kitchen scald injuries happen when pans tip unexpectedly during pouring. A helper handle reduces that risk by keeping the pan level until you want to pour.
Important: The helper handle should be heat-resistant and firmly riveted. Cheap stamped handles can loosen over time, turning a safety feature into a hazard.
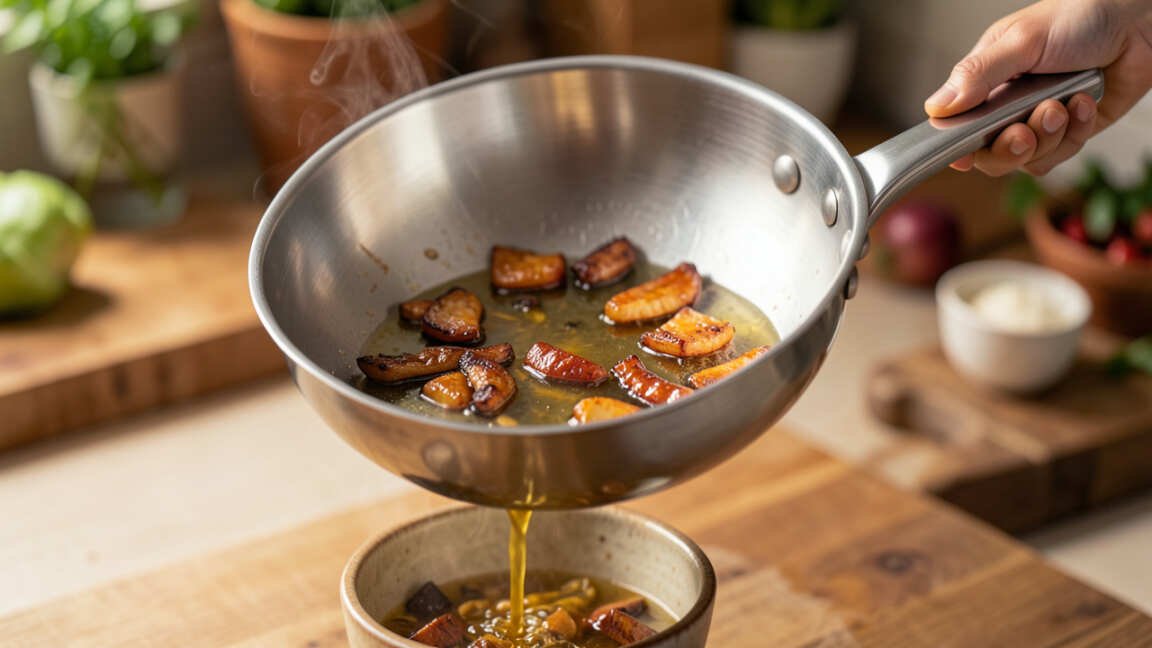
Why Sauté Pans Specifically Need a Helper Handle
Sauté pans are different from frying pans. They have straight sides, a larger capacity, and often a lid. This makes them much heavier when full. A 12-inch sauté pan can hold 4 to 6 quarts of liquid, weighing 10 to 15 pounds. Pouring that with one hand without a helper handle is difficult.
Sauté pans need a helper handle for one-hand pour because of their shape and weight distribution. The straight sides mean the liquid doesn’t pour out as easily as from a sloped frying pan. You need to tilt the pan further to get a steady stream. Without a helper handle, that tilt puts all the force on your wrist and forearm.
Professional chefs use helper handles every day. A Cook’s Illustrated survey found that cooks prefer sauté pans with helper handles for tasks like draining pasta water or deglazing with stock. The extra handle also helps when you lift a heavy pan from the stove to the sink.
Comparison Table: Sauté Pan With vs Without Helper Handle
| Feature | With Helper Handle | Without Helper Handle |
|---|---|---|
| One-hand pour control | Stable, precise tilt using counterbalance grip | Wobbly, wrist strain, high spill risk |
| Weight distribution | Balanced – helper handle shortens lever | Long lever from main handle increases front heaviness |
| Safety | Less chance of tipping; burns and spills reduced | Higher risk of hot liquid burns (NFPA data) |
| Ease of lifting | Easy to lift with two hands or one hand with support | Awkward to lift without spilling, especially if full |
| Common in professional cookware | Yes – All-Clad, Calphalon, Le Creuset include it | Rare in budget pans, but sometimes on mid-range |
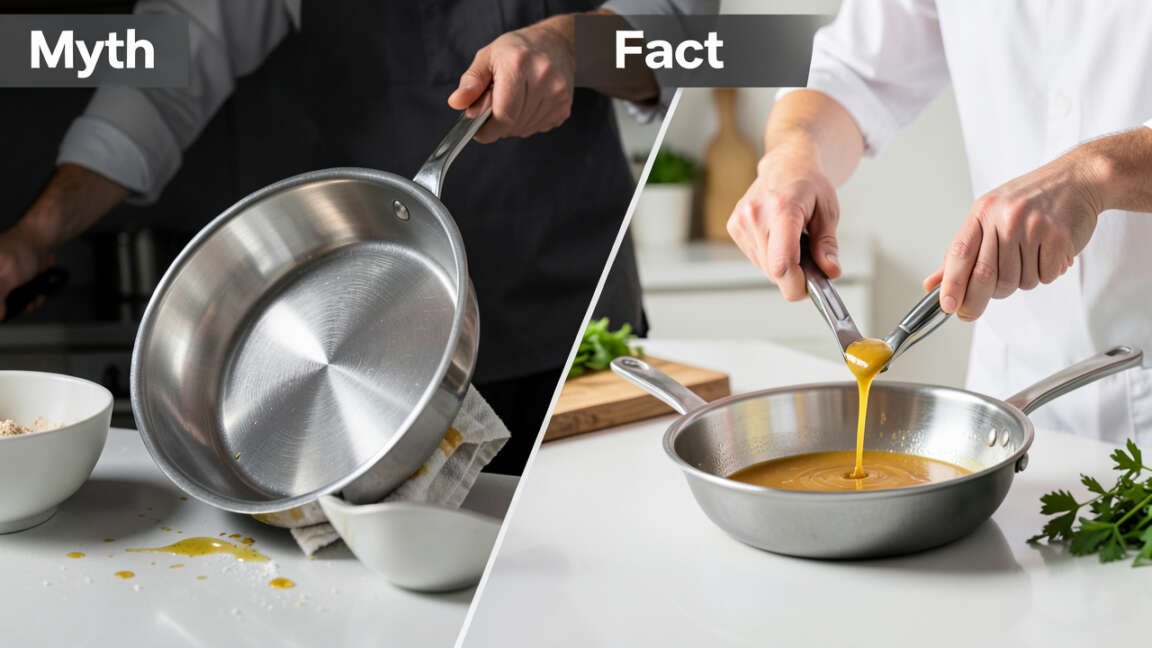
Common Myths vs Facts About Helper Handles
Myth: A helper handle is only for two-hand lifting, not pouring.
Fact: The helper handle is designed for both lifting and one-hand pouring. Its position near the front rim allows you to use it as a pivot point during a pour, giving you more control than the main handle alone.
Myth: Helper handles get in the way and are hard to clean.
Fact: Modern helper handles are attached with rivets, not screws, and they sit flat against the pan. They don’t trap food and are easy to wipe clean. Many are made from stainless steel or silicone-coated metal that resists heat.
Myth: Only large sauté pans need a helper handle.
Fact: Even a 10-inch sauté pan can weigh 7 pounds when full of liquid. A helper handle helps on any size pan that you might use for one-hand pouring. Smaller pans also benefit when you need to tilt to scrape out sauces.
How to Use a Helper Handle for One-Hand Pour: Step-by-Step
- Place your dominant hand on the main handle with your palm facing up or down (position depends on pan weight).
- Place your other hand on the helper handle, gripping it with your thumb on top and fingers underneath.
- Lift the pan slightly off the burner. Keep the pan level until you are ready to pour.
- To pour, tilt the pan forward by pushing down on the helper handle while pulling back slightly on the main handle. This keeps the front of the pan stable.
- Pour slowly. Use the helper handle to control the angle – a small tilt gives a thin stream; a deeper tilt gives a fast flow.
- Set the pan down gently. Let the helper handle guide the front of the pan onto the burner or counter.
Warning: Never pour hot oil or liquid with one hand on the main handle alone. The torque can twist your wrist and cause a severe burn. Always use the helper handle as a second grip or a counterbalance.
Who Benefits Most from a Helper Handle?
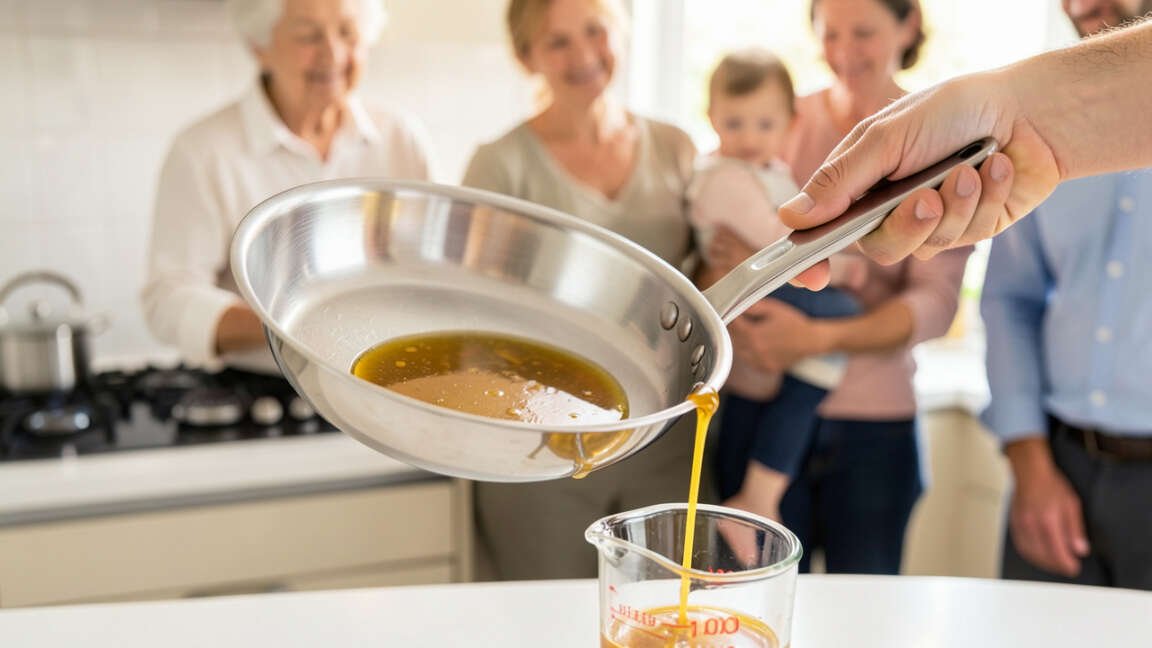
Anyone who cooks with large or heavy sauté pans gains from a helper handle. But some people need it more than others.
- Home cooks with weaker grip strength. People with arthritis, carpal tunnel, or low hand strength find helper handles reduce strain.
- Professional chefs. They pour quickly and repeatedly all day. A helper handle prevents fatigue and speeds up cooking.
- Parents cooking with one hand while holding a child. A single-handed pour is possible only with a helper handle.
- Anyone who frequently cooks pasta, rice, or stews. Draining hot liquid is the most dangerous use case, and the helper handle makes it safe.
Features to Look for in a Helper Handle Pan
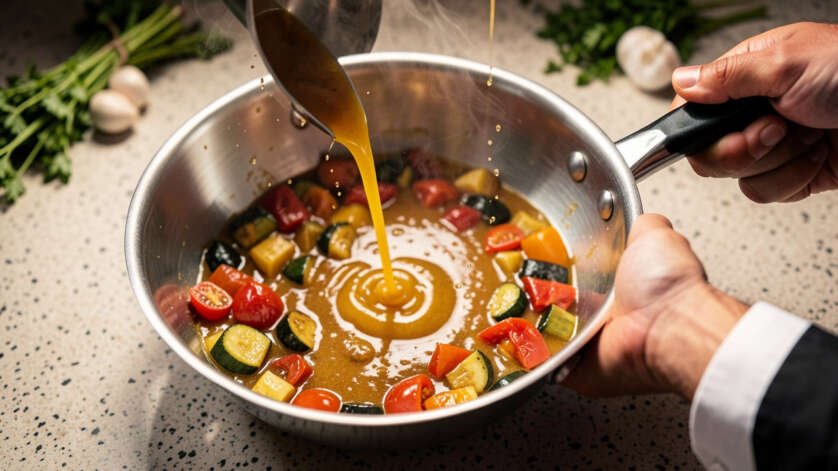
Not all helper handles are equal. When shopping for a sauté pan, check these three features.
Heat Resistance
The helper handle must stay cool when the pan is on the stove. Stainless steel handles with air gaps or silicone covers work best. Avoid plastic handles that can melt or transfer heat.
Rivet Quality
The handle should be attached with heavy-duty rivets, not tiny ones. Loose rivets cause the handle to wobble, which defeats its purpose. Brands like All-Clad and Calphalon use triple-riveted handles on their professional lines.
Handle Shape and Size
The helper handle should be long enough for a full hand grip but not so long that it blocks other burners. A curved, ergonomic shape fits your palm better than a straight bar.
Cost and Material Considerations
| Material | Typical Price Range (12-inch) | Helper Handle Quality |
|---|---|---|
| Stainless steel (clad) | $80 – $250 | Excellent – heavy-duty riveted, cool-touch |
| Non-stick aluminum | $40 – $100 | Good – often silicone-coated, but can loosen |
| Cast iron (enameled) | $60 – $180 | Variable – some have small handles, others large |
| Copper (lined) | $150 – $400 | Excellent – brass or iron handles, very secure |
Frequently Asked Questions
Can I add a helper handle to an existing sauté pan that doesn’t have one?
It is not recommended. Drilling into a pan can damage the material and create weak spots. You can buy clamp-on handles, but they are not as secure as factory-riveted ones. For safety, buy a pan that already has a helper handle.
Does a helper handle work the same way on a non-stick pan?
Yes. The helper handle provides the same counterbalance and control regardless of the cooking surface. But non-stick pans are often lighter, so the helper handle is more for steadying than for weight support.
Is a helper handle the same as a “loop” or “side handle”?
They are similar. A helper handle is usually a small handle on the rim opposite the main handle. Some pans have a small loop handle on each side. Both serve the same purpose for one-hand pouring.
How do I clean a helper handle?
Most helper handles are riveted and can go in the dishwasher. But hand washing is better to protect the rivets. Wipe around the base to remove food particles. Silicone-coated handles may discolor in high heat.
What size sauté pan needs a helper handle?
Any pan 10 inches or larger benefits. Pans under 10 inches are usually small enough to control with one hand on the main handle. But if you regularly pour hot liquid from any size pan, a helper handle still helps.
Pro Tips for Using Your Helper Handle
- Always dry the helper handle before pouring. Wet hands can slip off a smooth metal handle.
- Use a kitchen towel over the helper handle if the pan has been on the stove for a long time – some handles can get warm.
- When pouring into a colander, set the colander in the sink and hold the helper handle with your weaker hand while tilting with your dominant hand.
- Practice pouring cold water first to get the feel of the balance point.
- If you cook large batches often, consider a pan with a spout on the rim in addition to the helper handle – together they make pouring effortless.
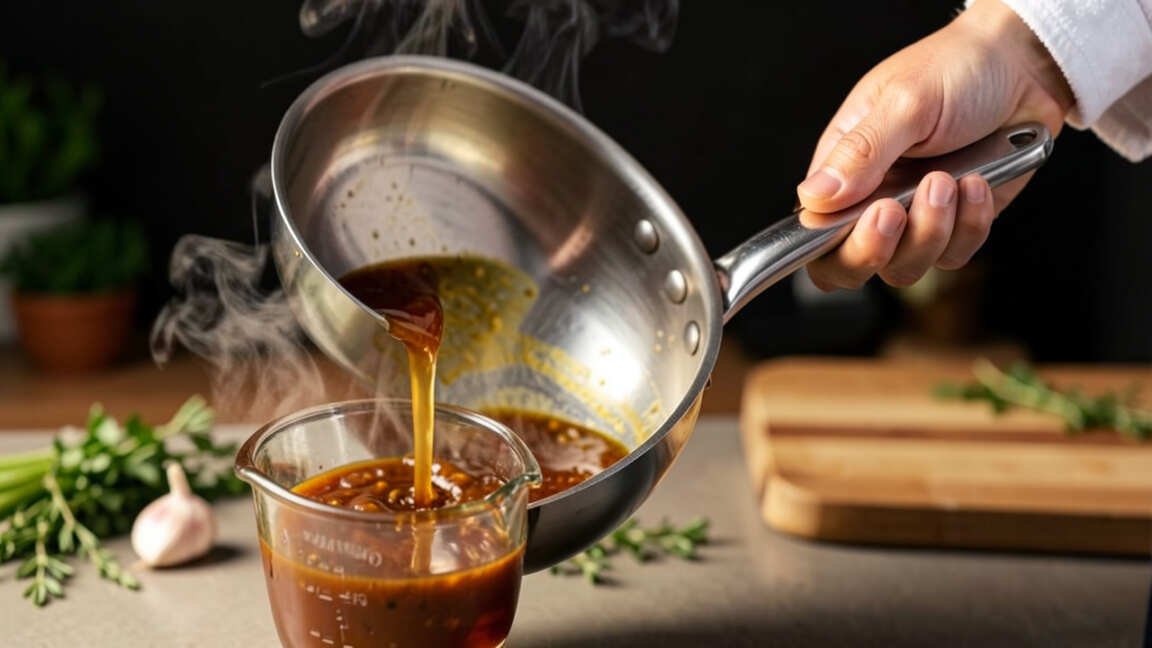
Tip: For one-hand pouring, grip the helper handle with your thumb and index finger forming a “C” around it. The main handle rests in your palm. This grip gives you maximum control with minimum strain.
Final Thoughts
A helper handle turns a risky one-hand pour into a safe, smooth motion. It gives you control, reduces burn risk, and makes cooking less tiring. Whether you are a home cook or a chef, look for a sauté pan that includes a solid, heat-resistant helper handle. Your wrists and your dinner guests will thank you.

Leave a Reply